1. Launch taskbar applications from the keyboard
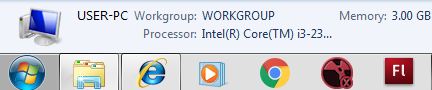
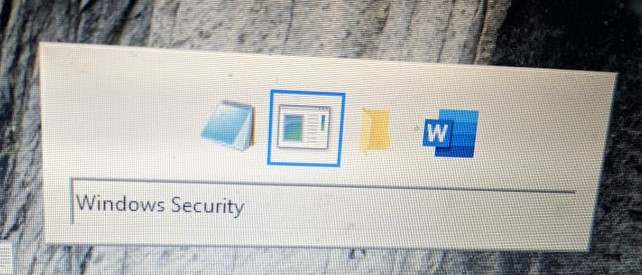
Most of us have a habit of launching an app present in the taskbar via the mouse click. Granted that is an easy method, but there is actually a much faster way for the same. All the icons on the taskbar, starting from right next to the ‘Windows’ icon, are assigned a number. The leftmost icon is given the number 1 and so on till the 10th icon, which has been assigned number 0. Just press the Windows key and the number assigned to the app that you want to open. Hence, in lieu of the above screenshot, for opening Internet Explorer, press Windows key + 2. Similarly, for Google Chrome, press Windows key + 4.
2. Quickly Launch a new window of the same app
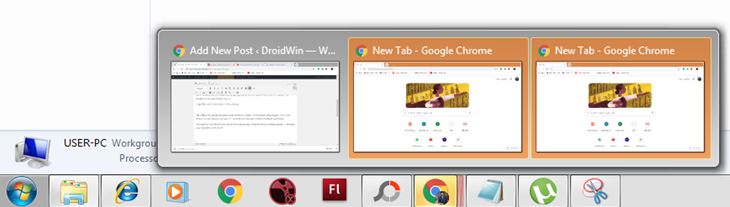
The taskbar icons can also be used to launch its duplicate window. Under normal circumstances, you may right-click on the app’s icon and then tap on the name. But there is a faster method of doing the same thing. Just press the ‘Shift’ key and then click on the desired app icon. Doing so will open multiple instances of the same apps (‘instances’ depends on the clicks).
3. Hidden Send Options
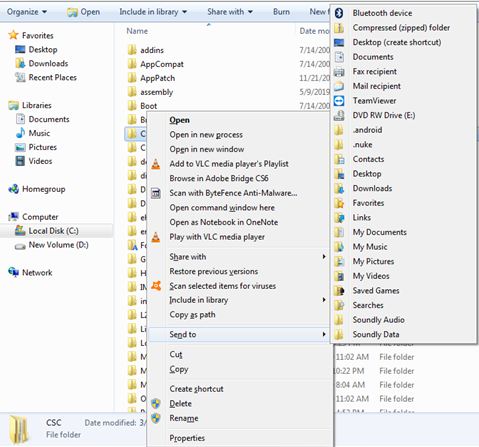
When you right-click on an app or folder, then under ‘Send to’ you may see a limited number of options like transferring to a Bluetooth device, Compressed folder or Desktop Shortcut, etc. But that is just the tip of the iceberg. There are tons of other options present as well which wouldn’t be visible under normal circumstances. To view all these hidden features, all you have to do is press the ‘Shift’ key and then right-click on the desired file or folder. Then choose your desired send location from a large set that appears.
4. Modifying the ‘Send’ Menu Options
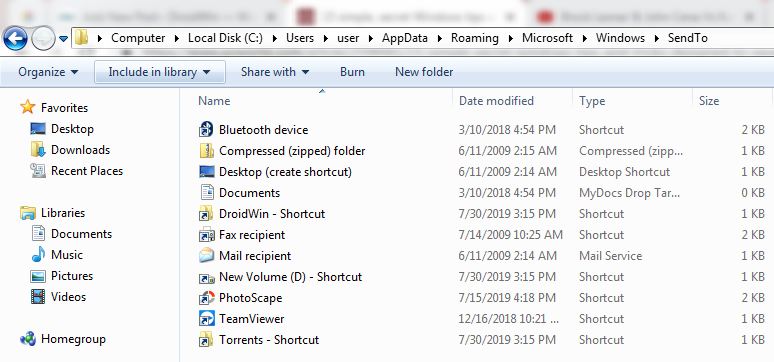
You might have noticed that not all options present under the ‘Send to’ menu suites your needs. Also, some of them might be missing as well. So, to add an option to the ‘Send to’ menu, follow the below points:
Create a shortcut on the desktop for the app or folder you wish to see under the ‘Send to’ menu.Open Windows Explorer and type shell:sendto in the address bar at the topCopy all the shortcuts created in the first step and paste them in the ‘sendto’ folder.
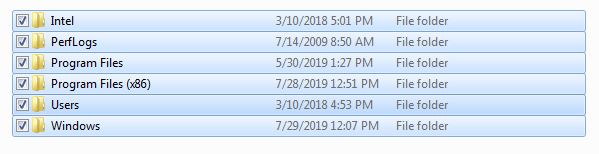
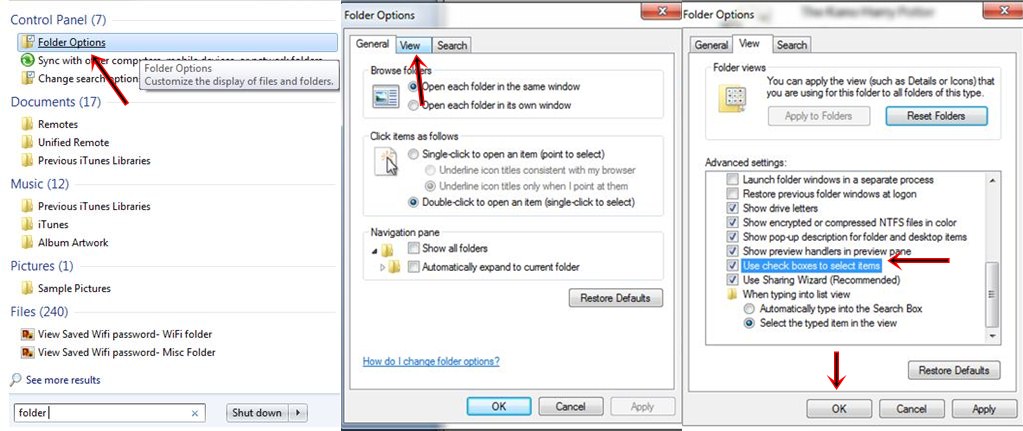
5. Enable Checkbox to Select Multiple Files at Once:
Users solely relying on the keyboard could easily select multiple files at once (through the control buttons). But not everyone is a keyboard lover. People who prefer to use a mouse for all the important tasks have a hard time doing so (especially if they are not in the same order). Thankfully there is a workaround for it. Follow the below guide for the same.
Users on Windows 7 Search for ‘folder options’ in the Start Menu’s search bar.Next, select the ‘View’ option in the dialog box that appears.Check the box next to “Use checkboxes to select items”.Finally, tap on the ‘OK’ button.
Users on Windows 8 or above
Open Windows Explorer.Open the ‘View’ tabTick mark the “Item check boxes” option in the ‘Show/Hide’ pane.
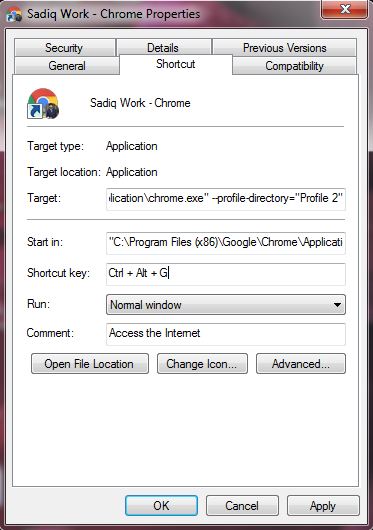
6. Create your Own Shortcut Key Combinations
Windows have its own pre-defined shortcuts like the ‘Ctrl + Z’ to redo any actions. But these are set by default and you don’t have any say in it. But what is under your control is you could create your own personalized key shortcut for any app. Windows automatically adds ‘Ctrl + Alt’ to any shortcut that you will create. Hence the complete shortcut would Ctrl + Alt + ‘your chosen alphabet’. Seeing its importance, I can’t refrain from adding it to the detailed article on Microsoft Windows Latest Tips and Tricks. In order to perform the said actions, simply right click on an app, and select the ‘Shortcut’ tab. Then, under ‘Shortcut Key’ just type the alphabet of your choice. Windows will automatically assign ‘Cntrl + Alt’ to it.
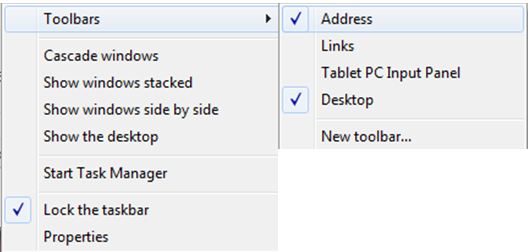
7. Browse the Web or PC from Taskbar
Clicking on your browser, waiting for it to completely load and then finally typing the URL. This action sometimes takes ages to perform. The same goes for browsing folders or files on your desktop. Well, what if all that could be done through the taskbar itself. This amazing little hack proves to be highly efficient and time saver. Just follow the below steps to enable it.
Right-click on the toolbar.Select ‘Toolbars’ from there. In some instances, it may be present under the ‘Properties’ section.Add the desired ones. I have added the Address (for entering the URL) and Desktop (for browsing through files).
8. Bring back the XP Style Task Switcher
It is no hidden fact that ‘Alt+ Tab’ brings the task switcher dialog. But if you are among the nostalgic fans who are fond of the old school, or just hate this style of task switcher, there is some good news for you. You could still enable the XP style task switcher just by this simple trick. While pressing the first Alt Button, press and release the second one. Then press the Tab button and you will be greeted with the old XP style task switcher.
9. Enable Slide to Shutdown
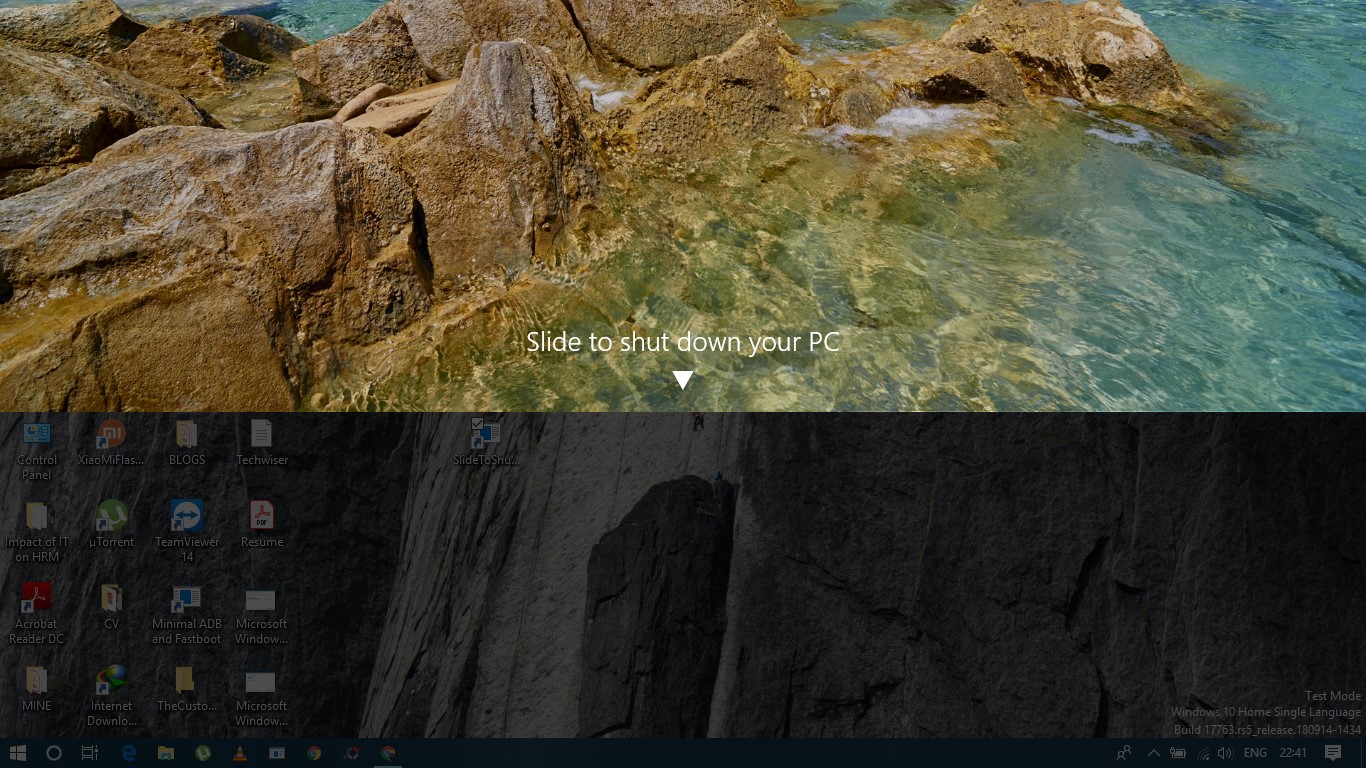
Now, this is something to brag about and it looks totally cool as well. As the name suggests, you just need to pull down the screen from the top to completely shut down your PC. Interested in it? Refer below on how to do so.
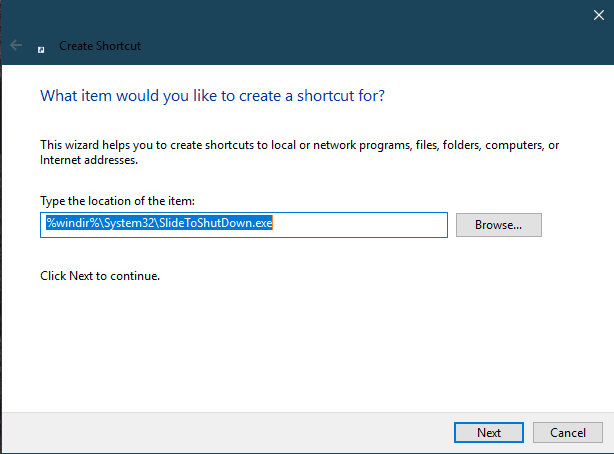
Right click on Desktop.Select ‘New’ > ‘Shortcut’. In the pop-up window that appears, paste the below code:
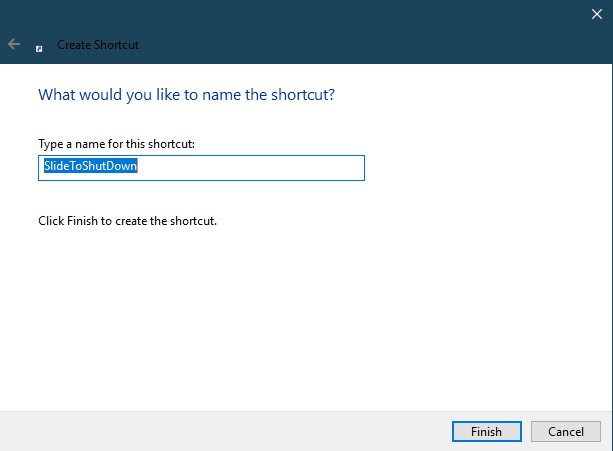
This will create a new icon on our desktop (rename if you wish).
Now whenever you feel like enabling this feature, just click on the newly created icon.This will open a pull-down shade. Pull it from above to completely turn off your PC.
10. Turn on the God Mode
Want complete control over your PC? Think about what does it feel like becoming a God and having the ultimate authority of your PC? Then it’s time to turn on the GOD MODE (pun intended)!
END OF PAGE 1, CLICK HERE TO GO TO PAGE 2
So, this brings us to the end of part 1 of the guide on Microsoft Windows Latest Tips and Tricks. Don’t forget to check Part 2. Plus more are coming up very shortly, so stay tuned. Also, if you want to contribute or have any suggestions, feel free to drop them in the comment box below.
About Chief Editor