So when the updates will automatically be pushed at regular intervals, why is there a need to manually carry out this task? Well, there exists a slew of benefits in manually grabbing hold of these update files and then installing it. For starters, the OTAs are usually rolled out in bathces, meaning only a selected few will get the update in the initial days, and then it will be rolled out for the general audiences. However, if you manage to get hold of the update ZIP, then you could directly flash it onto your device without any delay. Likewise, if you are a tech enthusiast, then you would need the firmware file to extract the boot.img and patch it via Magisk to obtain root.Moroever, if any partition on your device is corrupt, then you could easily get that file from the stock firmware and flash it right away onto your device. Now regarding the flashing process, there exist two different approaches- using the Fastboot Method and via ADB Sideload. For the normal use case scenario if you just wish to install an update on your stock device, then Sideload should be the preferred approach. On the other hand, if you are dealing with technical aspects such as root, then you have no choice but to opt for the Fastboot Method. With that said, this guide will make you aware of the steps to install the OTA update and the firmware package via ADB Sideload on your Nothing Phone 1. So without further ado, let’s get started.
Install OTA Updates and Firmware via ADB Sideload in Nothing Phone 1
Please take a backup of all the data on your device before proceeding with the below steps. Droidwin and its members wouldn’t be held responsible in case of a thermonuclear war, your alarm doesn’t wake you up, or if anything happens to your device and data by performing the below steps.
STEP 1: Install Android SDK
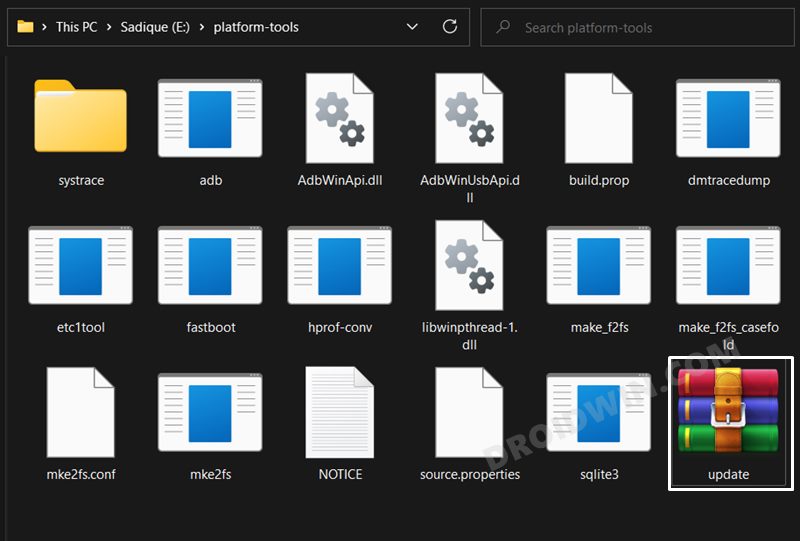
First and foremost, you will have to install the Android SDK Platform Tools on your PC. This is the official ADB and Fastboot binary provided by Google and is the only recommended one. So download it and then extract it to any convenient location on your PC. Doing so will give you the platform-tools folder, which will be used throughout this guide.
STEP 2: Download Nothing Phone 1 Firmware
STEP 3: Enable USB Debugging
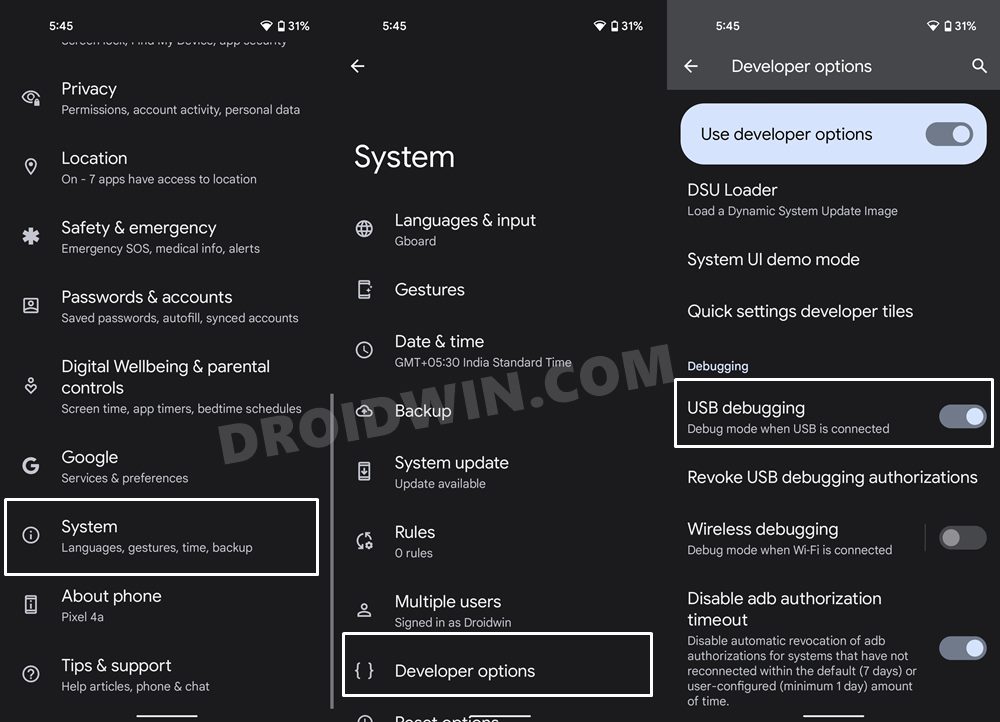
Next up, you will have to enable USB Debugging so that your device is recognizable by the PC in ADB mode. This will then allow you to boot your device to Recovery Mode. So head over to Settings > About Phone > Tap on Build Number 7 times > Go back to Settings > System > Advanced > Developer Options > Enable USB Debugging.
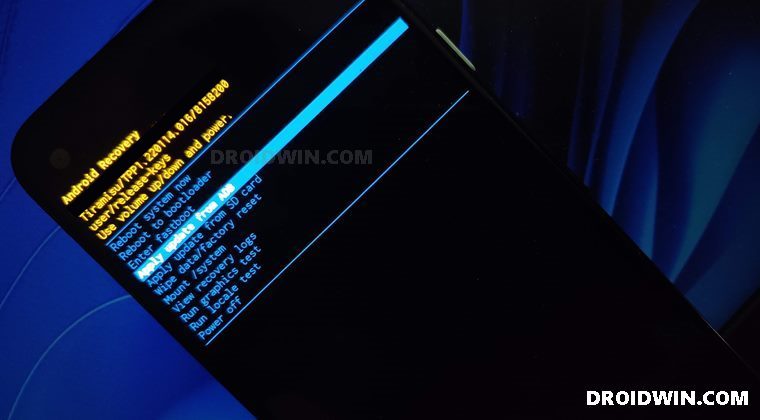
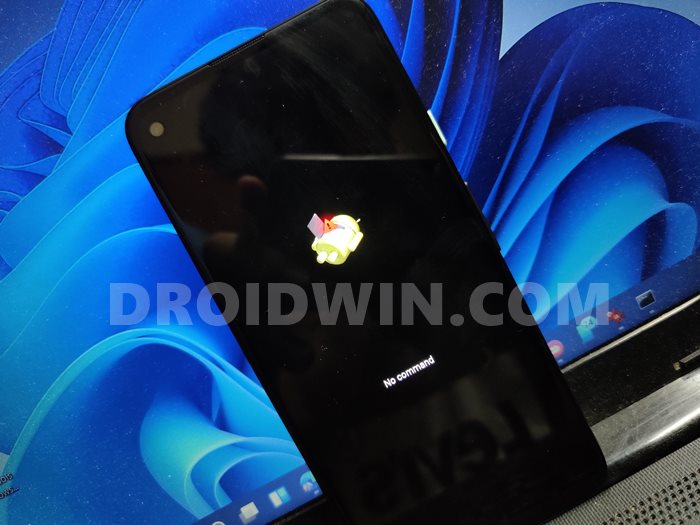
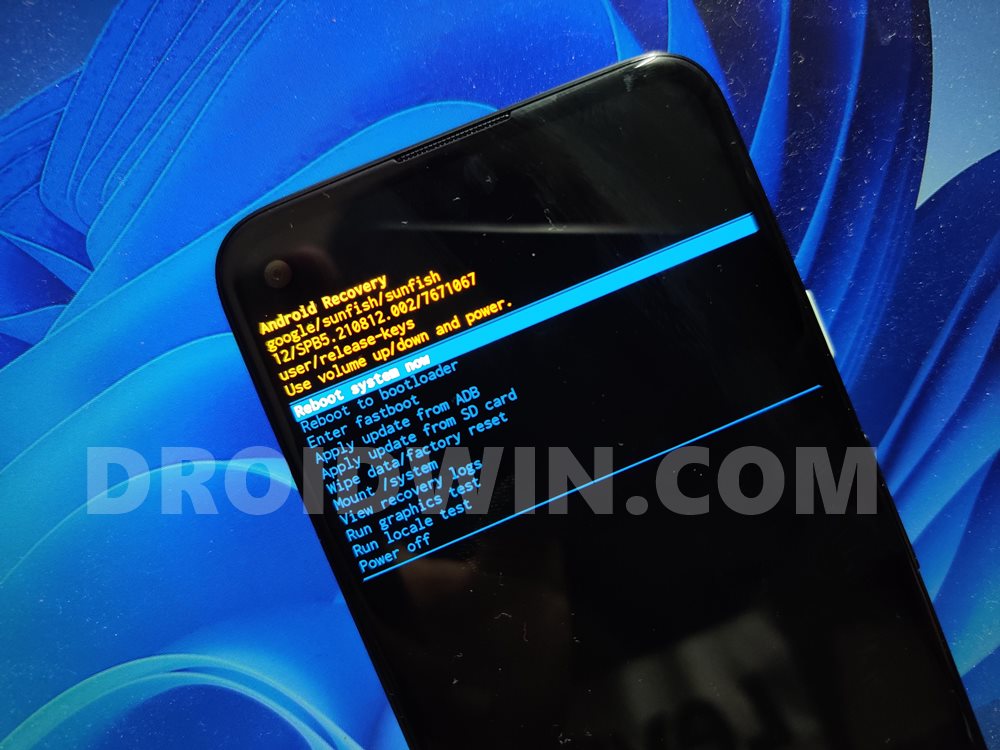
STEP 4: Boot to Stock Recovery
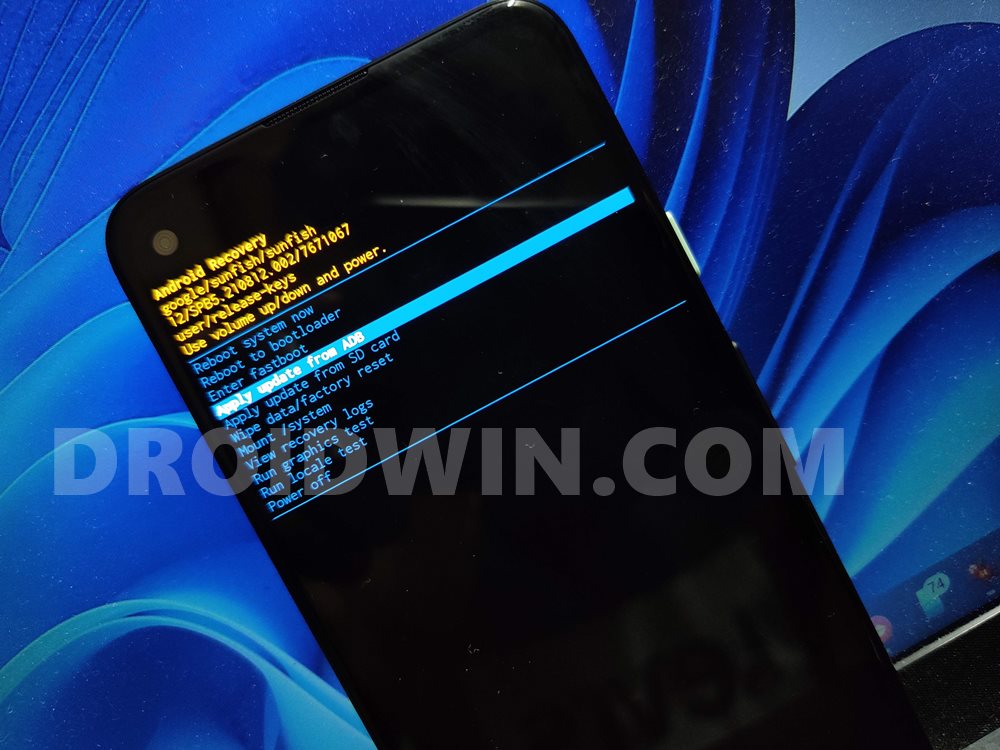
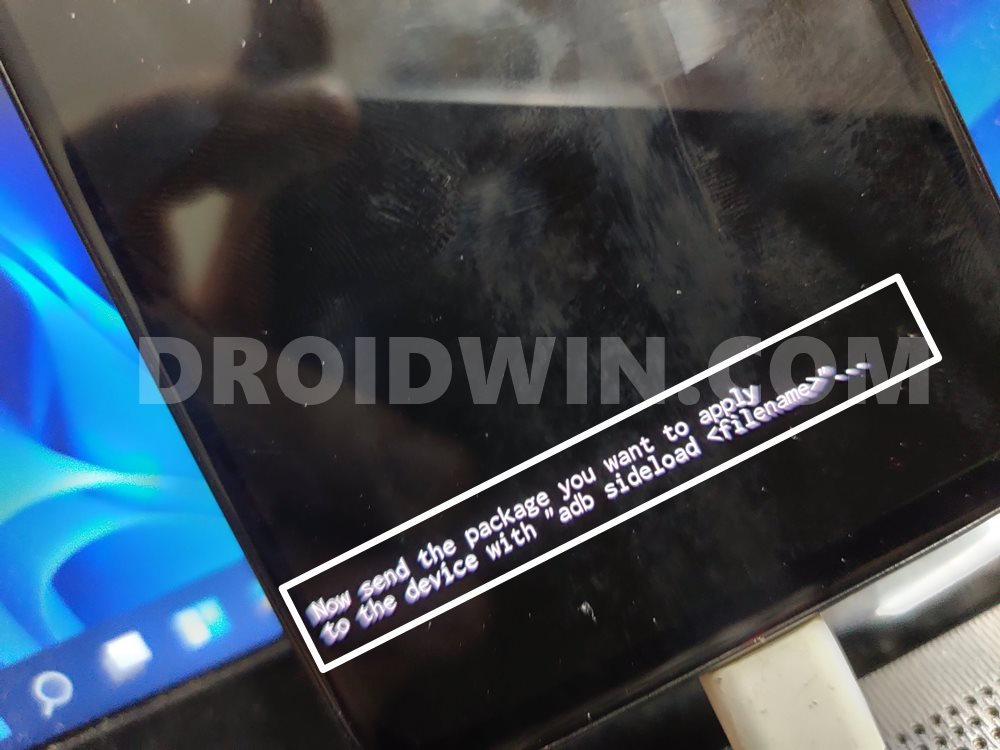
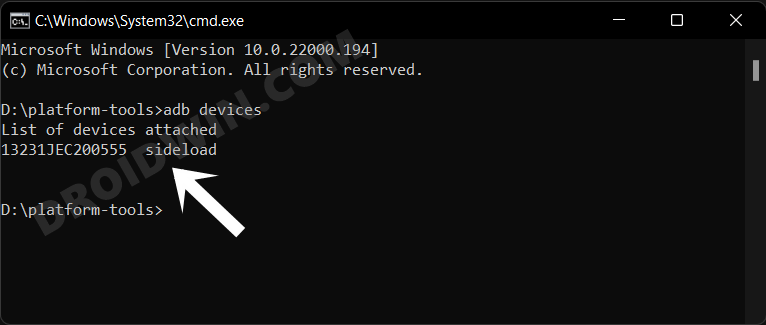
STEP 5: Install OTA/Firmware Via ADB Sideload on Nothing Phone 1
That’s it. These were the steps to install the firmware and OTA update on your Nothing Phone 1 via ADB Sideload. If you have any queries concerning the aforementioned steps, do let us know in the comments. We will get back to you with a solution at the earliest.
How to Install Android 13 via Fastboot MethodInstall Custom ROM on Android via ADB SideloadHow to Use ADB Sideload in Android [Stock and TWRP Recovery]ADB Sideload not working: Cannot Read File [Fixed]
About Chief Editor