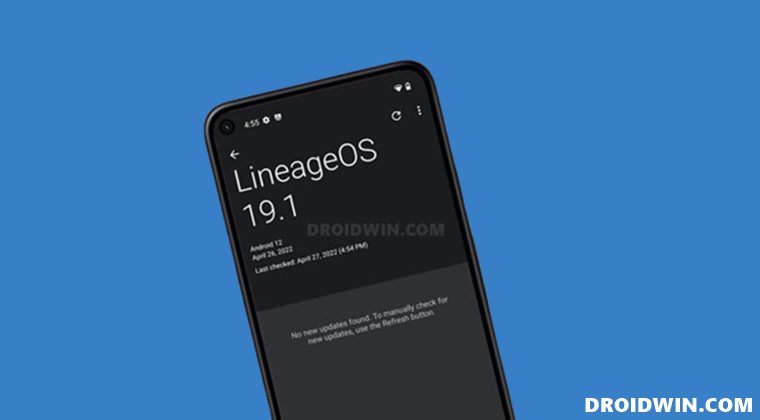
And we don’t need to shed light on the fact that this change wasn’t welcomed with open hands by many users. As a result of which, a plethora of users straightaway unlocked the device’s bootloader and made a jump over to one of the custom ROMs. In this regard, we are already seeing an ocean of ROMs available for this device, which is definitely a boon for tech enthusiasts. However, they are currently stuck in a rather good dilemma- which custom ROM should they ultimately settle for. Well, if the question is a ROM that provides an equilibrium between feature set and performance stability, then Lineage might just be the right answer. So on that note, let’s get started with the steps to install LineageOS 19 based on Android 12 onto your OnePlus 9 Pro.
Install LineageOS 19 [Android 12] on OnePlus 9 Pro
Before starting, make sure that you are on the latest Android 12 firmware [READ- Flash Android 12 on OnePlus 9 Pro via Fastboot Commands]. Moreover, take a data backup beforehand as the process will reset your device. Droidwin and its members wouldn’t be held responsible in case of a thermonuclear war, your alarm doesn’t wake you up, or if anything happens to your device and data by performing the below steps.
STEP 1: Install Android SDK
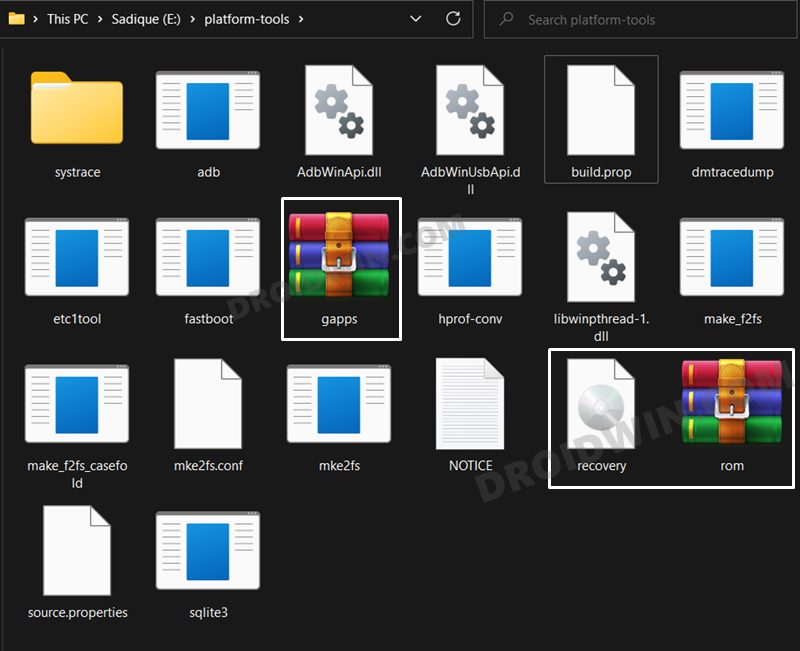
First and foremost, you will have to install the Android SDK Platform Tools on your PC. This is the official ADB and Fastboot binary provided by Google and is the only recommended one. So download it and then extract it to any convenient location on your PC. Doing so will give you the platform-tools folder, which will be used throughout this guide.
STEP 2: Download LineageOS 19 [Android 12] ROM
Next up, get hold of the ROM for your device from below. Along with that, make sure to download its associated recovery file as well. Moreover, if you want Google apps and services, then download the GApps as well. Regarding which, there are many different GApps providers, as for this guide, we are using the NikGApps, you are free to use the one that you prefer. Once you have downloaded all the three files [ROM, recovery, and GApp], transfer them to the platform-tools folder on your PC. Likewise, rename the LineageOS 19 ROM to rom.zip, the LineageOS recovery file to recovery.img, and the GApps package to gapps.zip.
STEP 3: Enable USB Debugging and OEM Unlocking
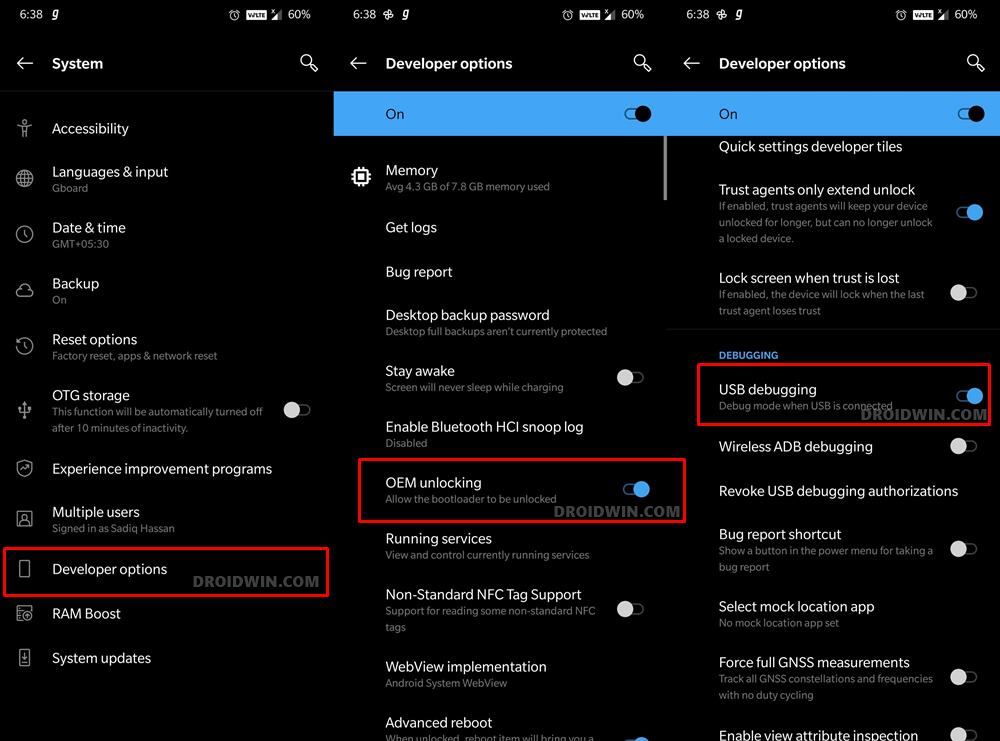
Next up, you will have to enable USB Debugging and OEM Unlocking on your device. The former will make your device recognizable by the PC in ADB mode. This will then allow you to boot your device to Fastboot Mode. On the other hand, OEM Unlocking is required to carry out the bootloader unlocking process.
So head over to Settings > About Phone > Tap on Build Number 7 times > Go back to Settings > System > Advanced > Developer Options > Enable USB Debugging and OEM Unlocking.
STEP 4: Unlock Bootloader on OnePlus 9 Pro
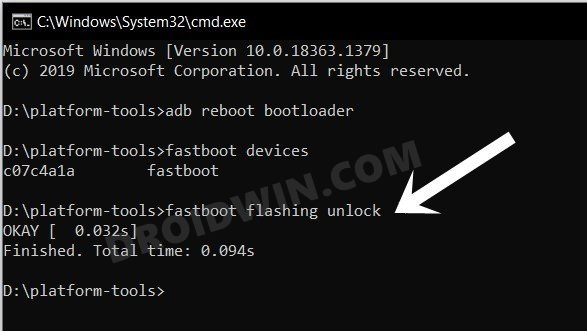
Next up, you will also have to unlock the device’s bootloader. Do keep in mind that doing so will wipe off all the data from your device and could nullify its warranty as well. So if that’s all well and good, then please refer to our detailed guide on How to Unlock Bootloader on OnePlus 9 Pro
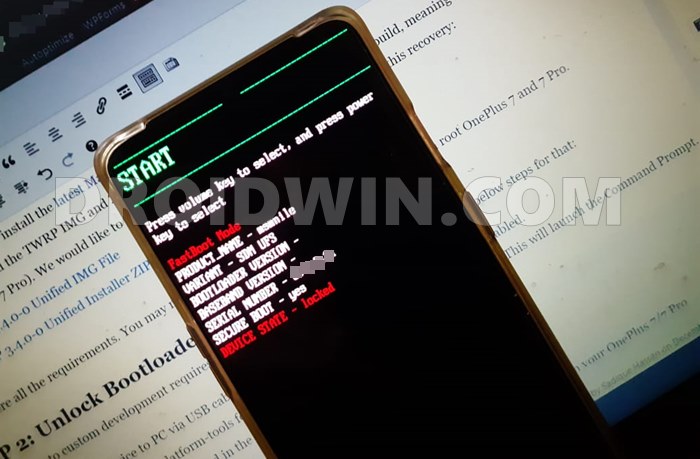
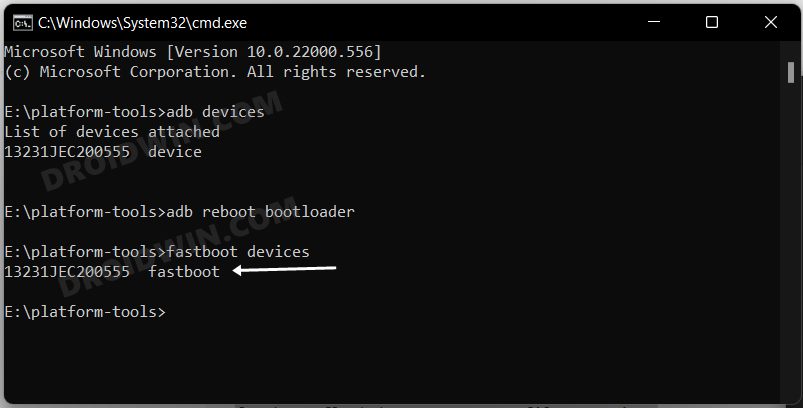
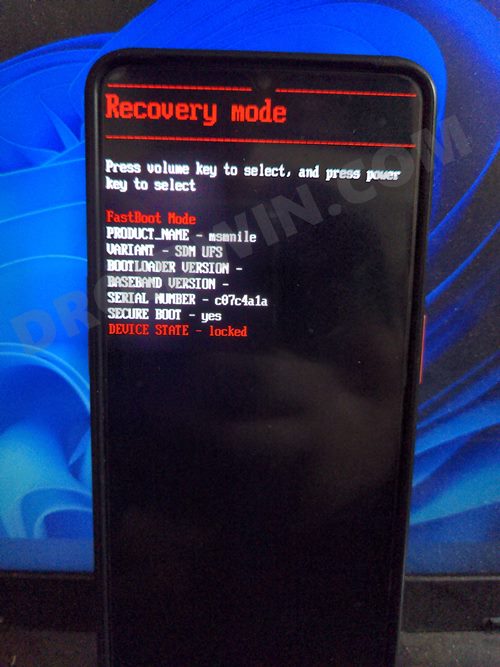
STEP 5: Boot to Fastboot Mode
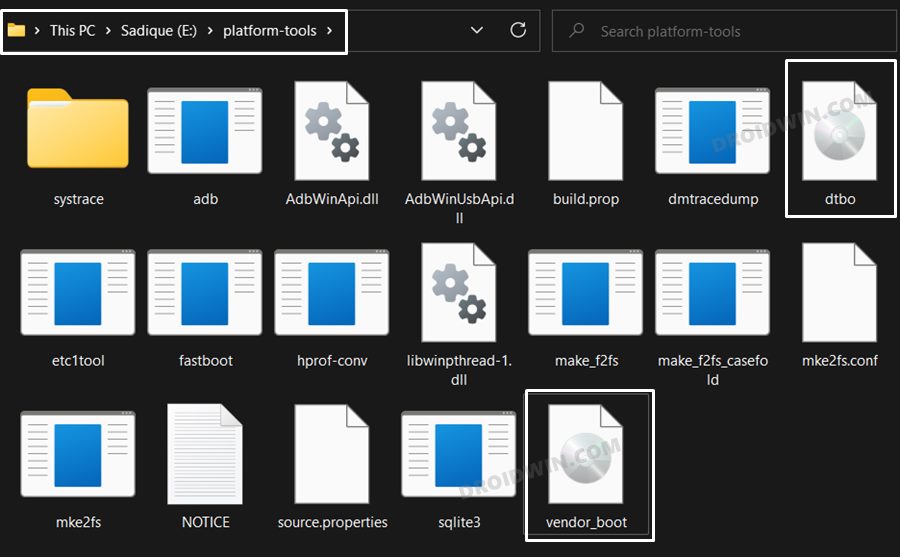
STEP 6: Flash dtbo and vendor boot
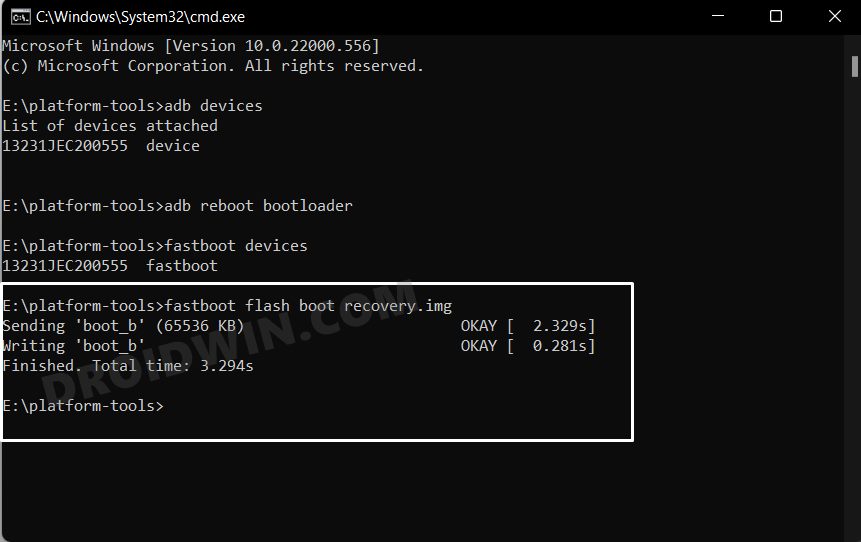
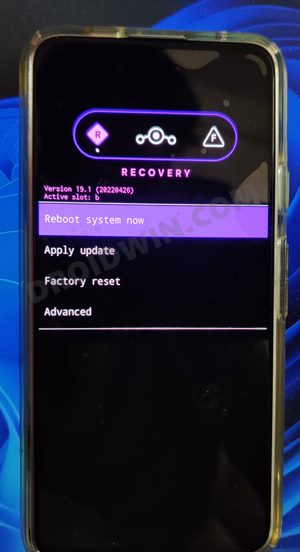
STEP 7: Install LineageOS Recovery on OnePlus 9 Pro
STEP 7: Copy Contents of Slot A to B
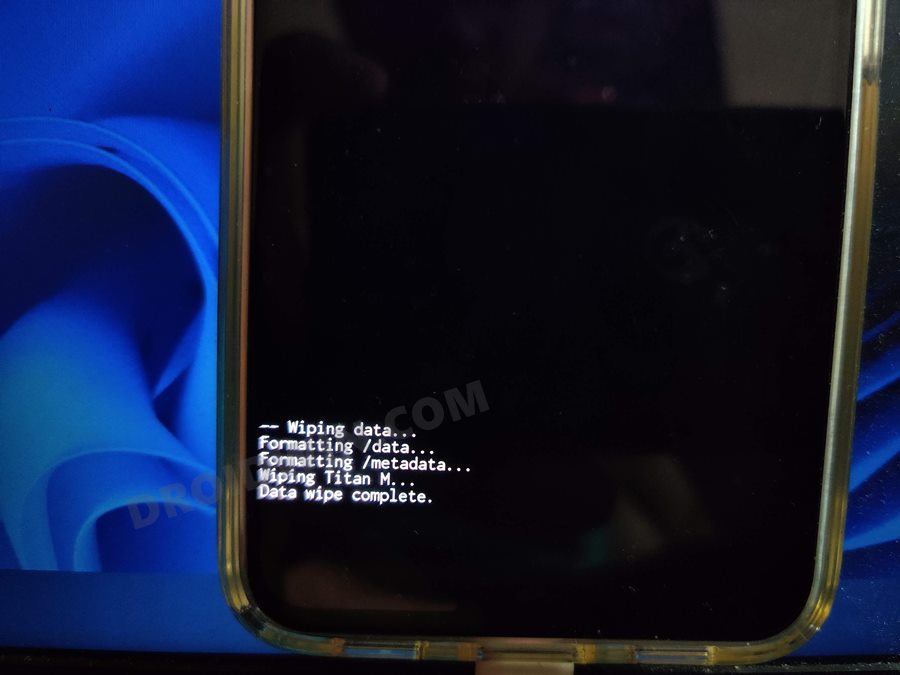
in order to maintain consistency of the firmware versions between the two partitions on your device, we will now be copying all the contents of Slot A to Slot B.
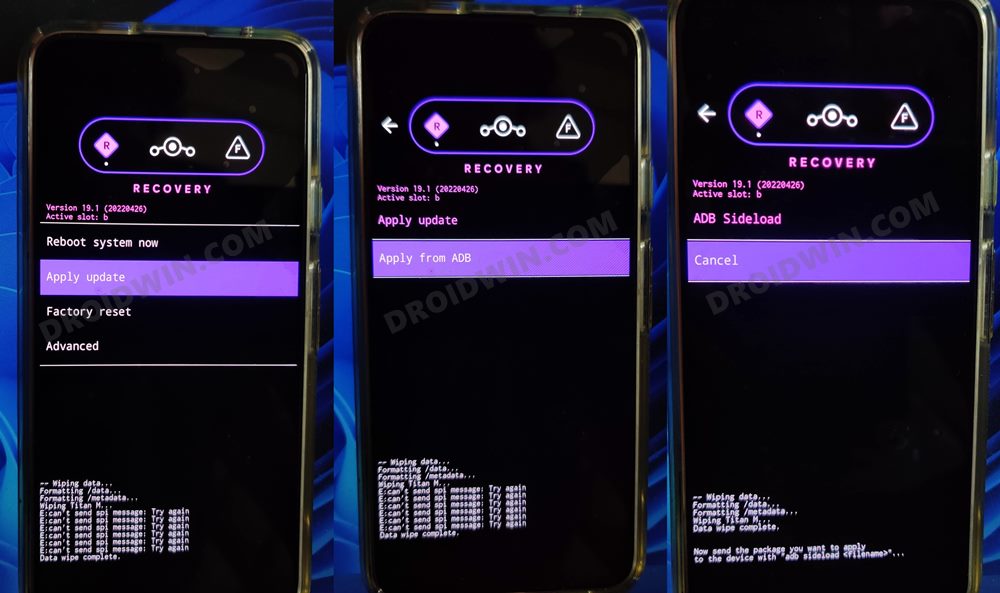
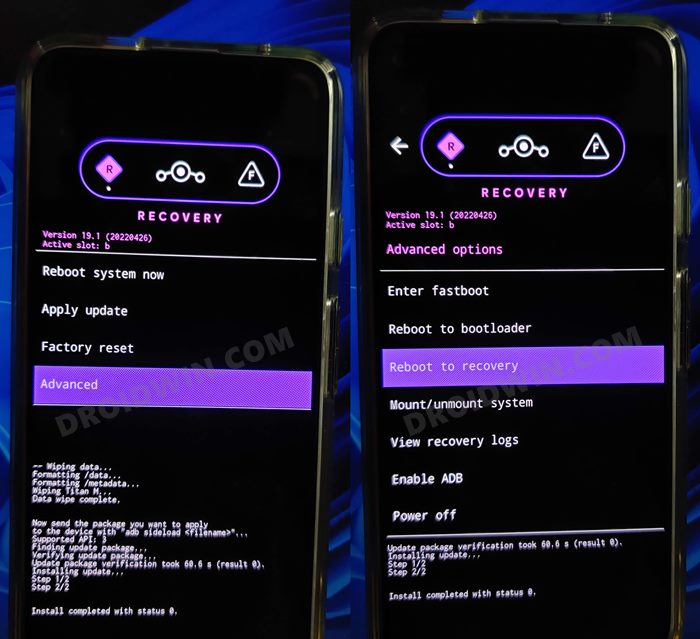
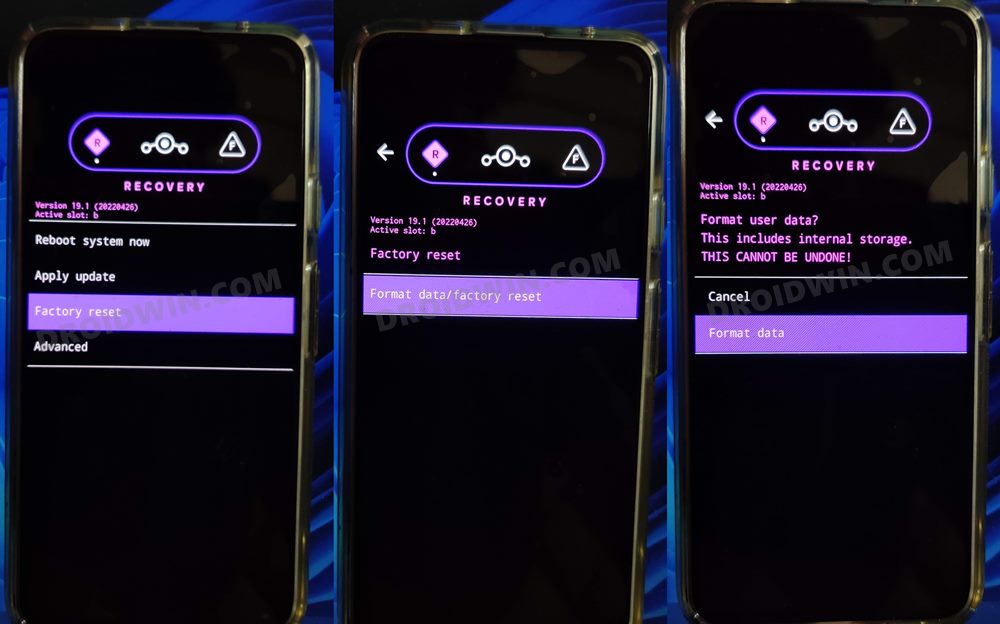
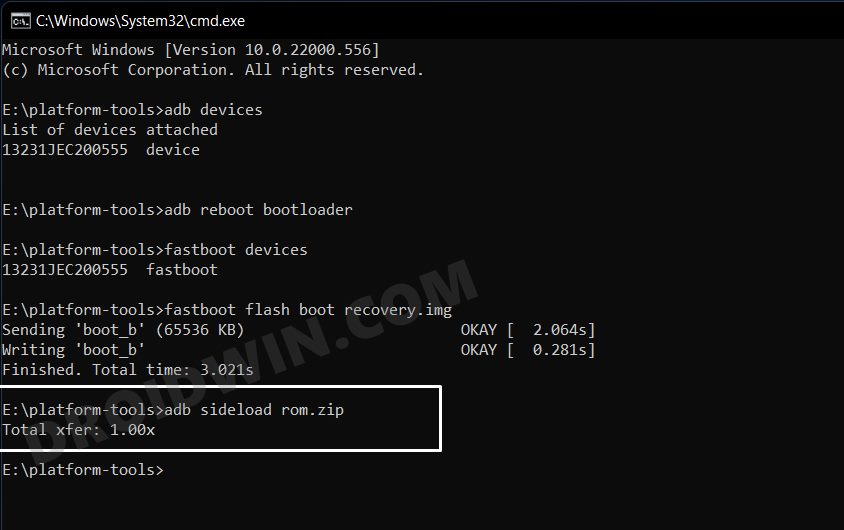
STEP 8: Install LineageOS 19 ROM on OnePlus 9 Pro
NOTE: In some cases, the process will stop at 47% and report adb: failed to read command: Success. Likewise, it could also report adb: failed to read command: No error or adb: failed to read command: Undefined error: 0. All these messages signify that the flashing has been successfully completed.
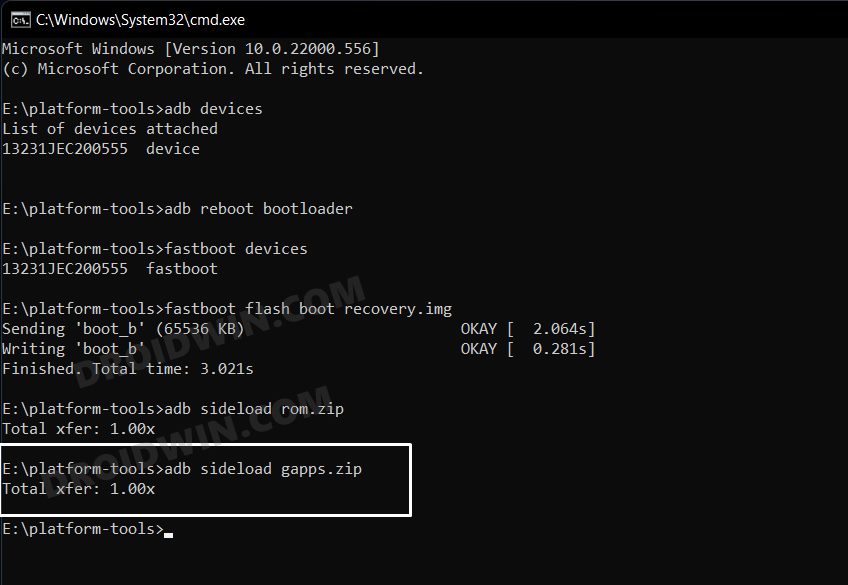
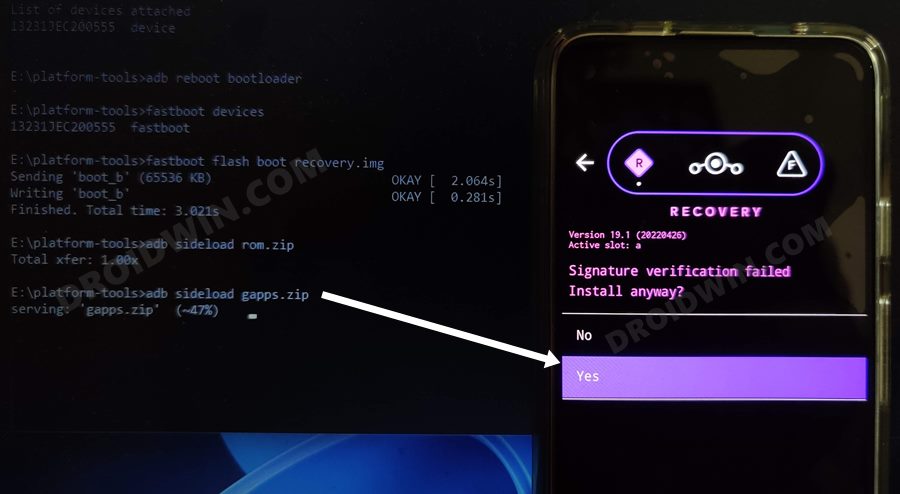
STEP 9: Install GApps on OnePlus 9 Pro
If you want to Google apps and services, then you will have to flash GApps right now, you cannot do so at a later stage. So refer to the below instructions to flash it. That’s it. These were the steps to install the latest LineageOS 19 based on Android 12 onto your OnePlus 9 Pro. If you have any queries concerning the aforementioned steps, do let us know in the comments. We will get back to you with a solution at the earliest.
How to Root LineageOS ROM via Magisk Boot.imgRoot LineageOS ROM using TWRP RecoveryHow to Hide Root from Apps via Magisk DenyList [Android 12]How to Remove Navigation Bar Gesture Pill on Android 12 Without Root
About Chief Editor
