Talking about which, it’s the offering from Nvidia that is among the most popular player in this domain. While it is able to effectively checkmark all the prerequisites for the general users, it has something in store for the tech enthusiasts as well. The ability to gain administrative privileges by rooting your TV, flash customized firmware like LineageOS or a custom recovery like TWRP or even overclock by flashing a custom kernel are all a possibility on this TV. Apart from that, you could also downgrade the OS to an older build, such as from Android 11 to Android 9. However, before you could step into this custom development, there’s an important requirement that you need to checkmark of this list- your TV’s bootloader needs to be unlocked. So if you are looking to welcome these tweaks onto your device, then let’s get started with the steps to unlock the bootloader of your Nvidia Shield TV. Follow along.
How to Unlock Bootloader on Nvidia Shield TV
Before you start off with the process, there are a few important points that you need to keep in mind. While we have already discussed the perks of an unlocked bootloader, it also has its fair share of drawbacks. First off, all the data on your TV will be deleted. Likewise, the warranty could also become null and void. So if that’s all well and good, then let’s get started with the steps to unlock the bootloader on your Nvidia Shield TV. Droidwin and its members wouldn’t be held responsible in case of a thermonuclear war, your alarm doesn’t wake you up, or if anything happens to your TV and data by performing the below steps.
STEP 1: Install Nvidia Shield TV ADB Fastboot Drivers
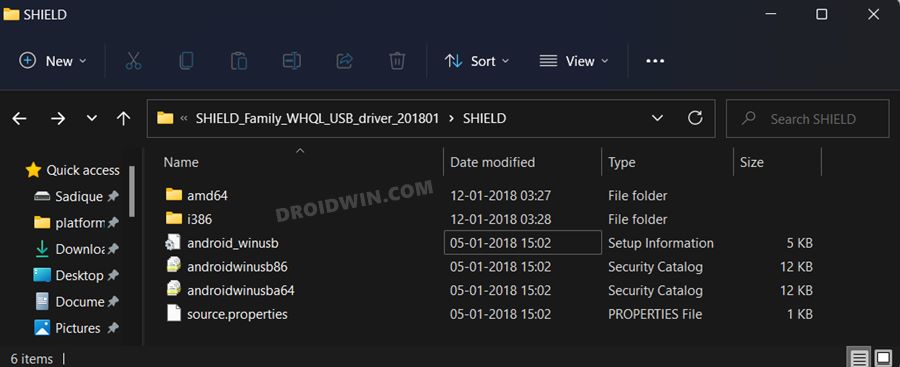
First and foremost, you will have to install the Nvidia Shield TV ADB Fastboot Drivers. This is needed so that your PC is able to identify your TV in Fastboot Mode. So refer to our guide on How to Install Nvidia Shield TV ADB Fastboot Drivers on Windows.
STEP 2: Install Android SDK Platform Tools
This is the official ADB and Fastboot binary provided by Google and it will act as our working directory. Right from verifying the ADB connection to booting your TV to Fastboot, all this would be carried out taking the help of these binaries. So download and extract them to any convenient location on your PC. This will give you the platform-tools folder, which we will be subsequently used throughout this guide.
STEP 3: Enable USB Debugging on Nvidia Shield TV
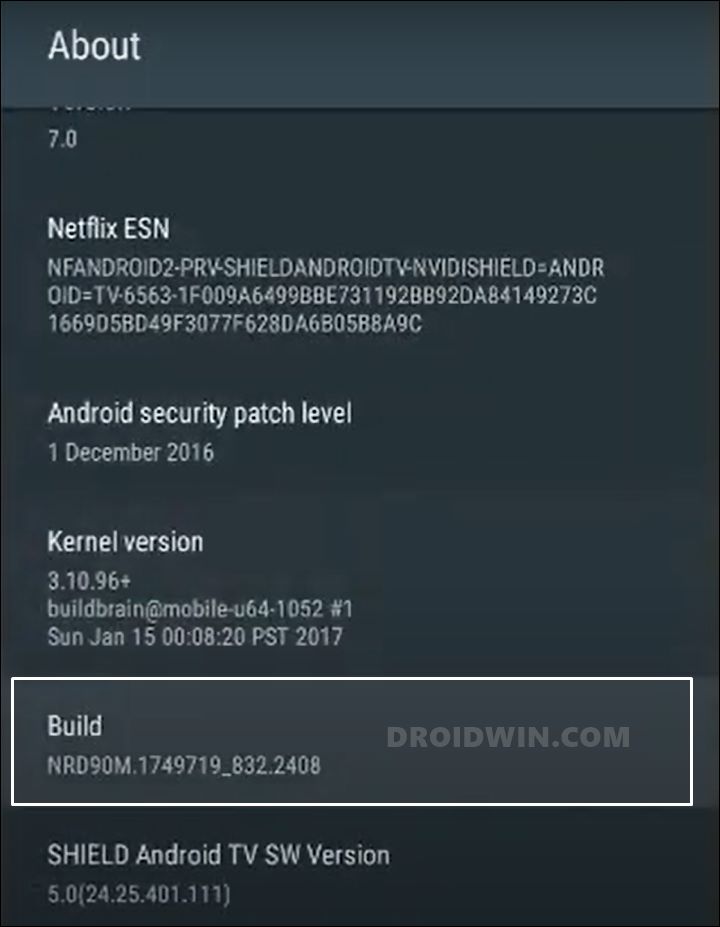
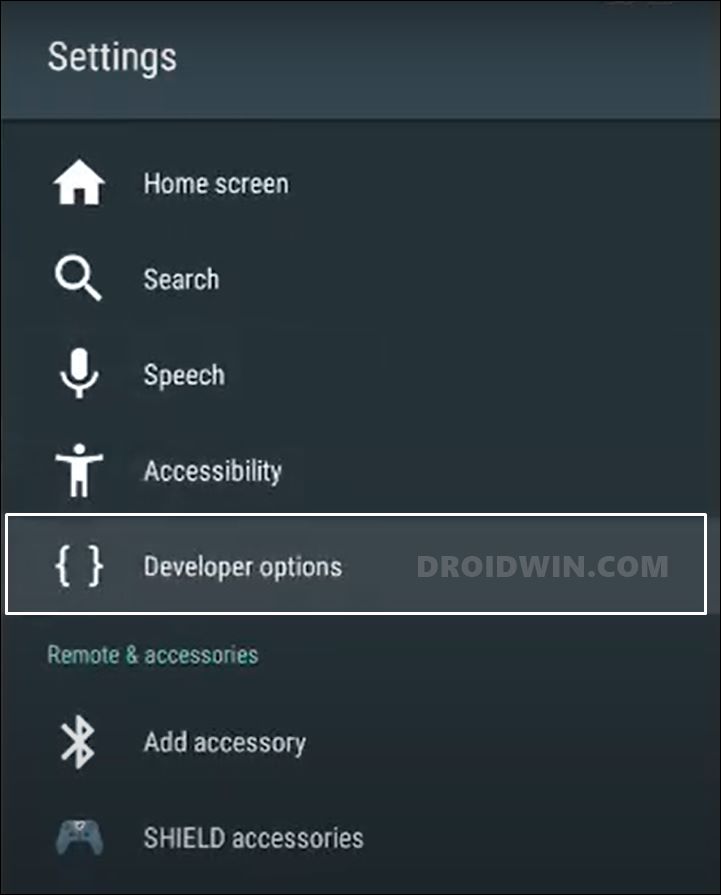
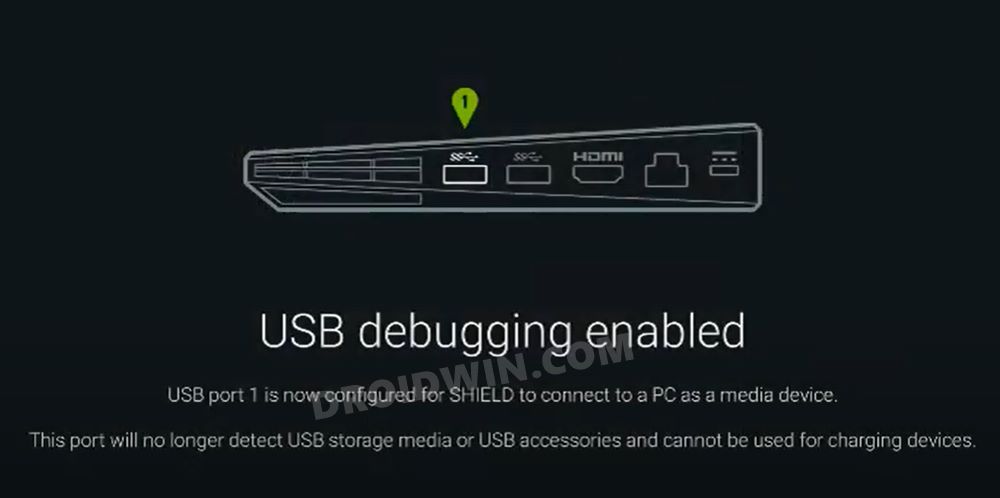
You will now have to enable USB Debugging on your TV so that you would be able to execute the required ADB Command. Follow along.
STEP 4: Connect Nvidia Shield TV to PC
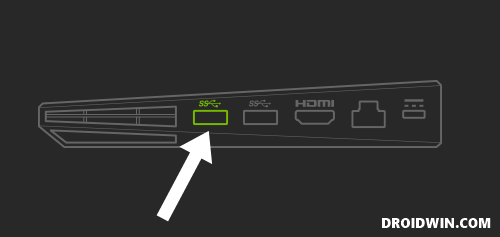
You will now have to connect your TV to your PC or laptop. So pick up a USB type-A to type-A cable, connect one end to your PC and the other to your TV. As far as the TV is cornered, the USB port will be the farthest from the HDMI port, as shown in the below image via the green color.
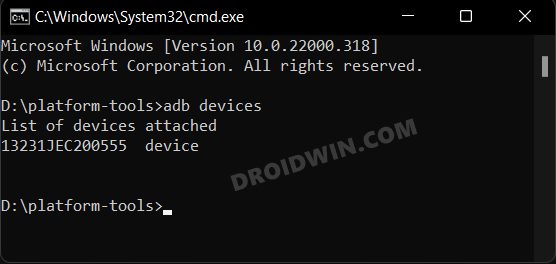
STEP 5: Verify ADB Connection
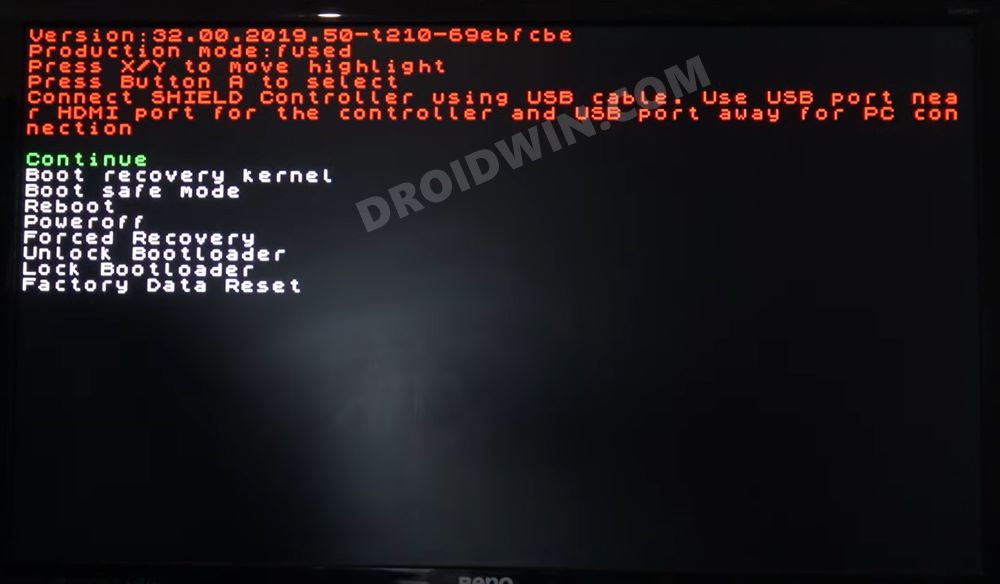
STEP 6: Boot Nvidia Shield TV to Fastboot Mode
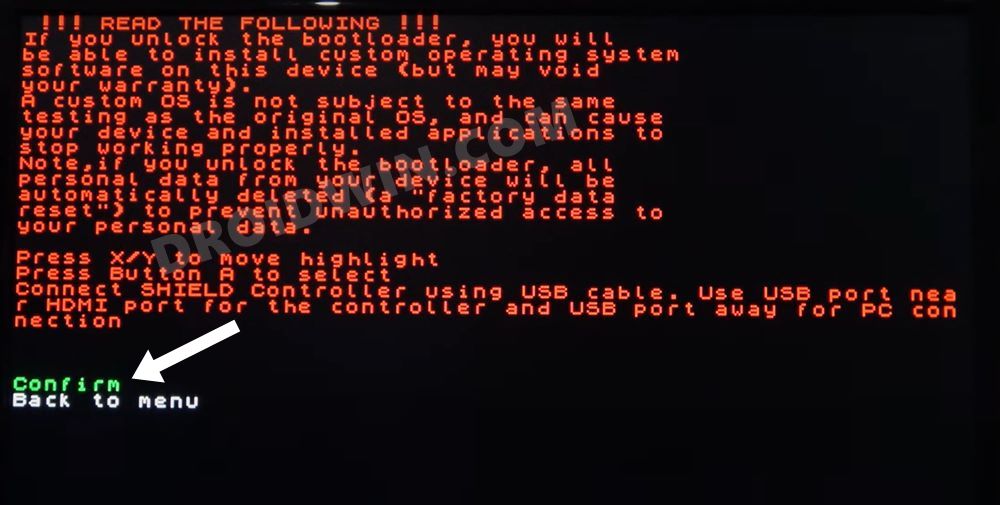
STEP 7: Unlock Bootloader on Nvidia Shield TV
That’s it. These were the steps to unlock the bootloader on your Nvidia Shield TV. You may now proceed ahead and try out the plethora of tweaks and customizations onto your Android TV. On that note, we round off this tutorial. All your queries concerning the aforementioned steps are welcomed in the comments section
Nvidia Shield TV Android 11: Bugs, Issues, and FixesInstall Nvidia Shield TV ADB Fastboot Drivers in Windows 10/11How to Downgrade Nvidia Shield TV to Android 9How to Remove Ads on Nvidia Shield and other Android TVsInstall a Third-Party Custom Launcher on Nvidia Shield TV
About Chief Editor
