There now stands the possibility to gain administrative access and hence tweak the in-game settings as per our requirement. In other words, you could now root your Windows 11 PC via Magisk (yes, it sounds a little bit strange, but we should probably get used to it). And in this guide, we will show you how to do just that. Given here are the detailed instruction steps to root the Windows Subsystem for Android via Magisk.
How to Root Windows Subsystem for Android via Magisk
The below instructions are listed under separate sections for ease of understanding. Make sure to follow in the exact same sequence as mentioned.
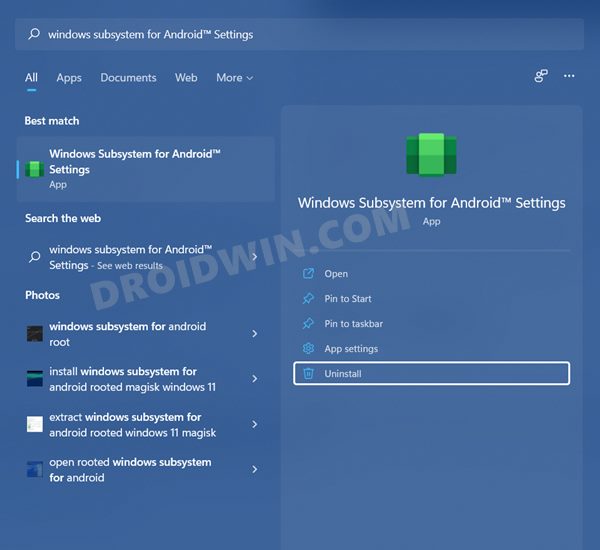
STEP 1: Uninstall Previous Version of Windows Subsystem for Android
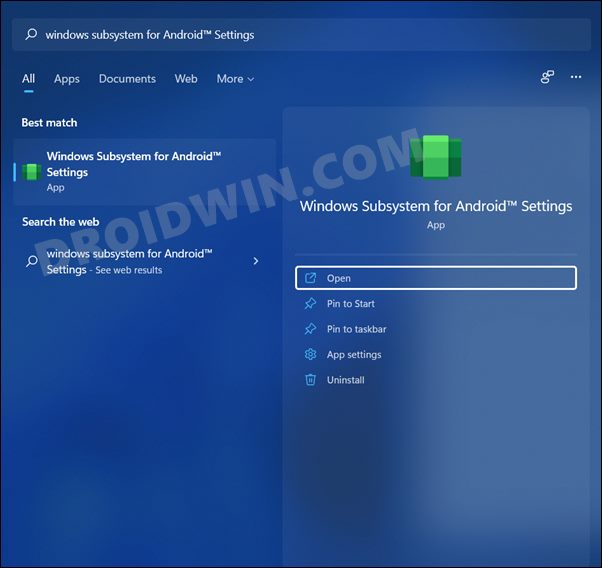
First and foremost, if you have any version of Windows Subsystem for Android installed, then please uninstall it first. For that, head over to Start Menu, search Windows Subsystem, and select Uninstall.
STEP 2: Install Android SDK Platform Tools
You will have to install the Android SDK Platform Tools on your PC. This is the official ADB and Fastboot binary provided by Google and is the only recommended one. So download it and then extract it to any convenient location on your PC. Doing so will give you the platform-tools folder, which will be used throughout this guide.
STEP 3: Download Rooted Windows SubSystem for Android
Next up, download the Rooted Windows SubSystem for Android with GApps+Magisk from the below link. Make sure to download the one that corresponds to your architecture (arm64 or X64). To check that, head over to Settings > System > About > Check out System Type under Device Specification.
WSA-with-magisk-GApps-pico_1.8.32822.0_arm64_Release-NightlyWSA-with-magisk-GApps-pico_1.8.32822.0_x64_Release-Nightly
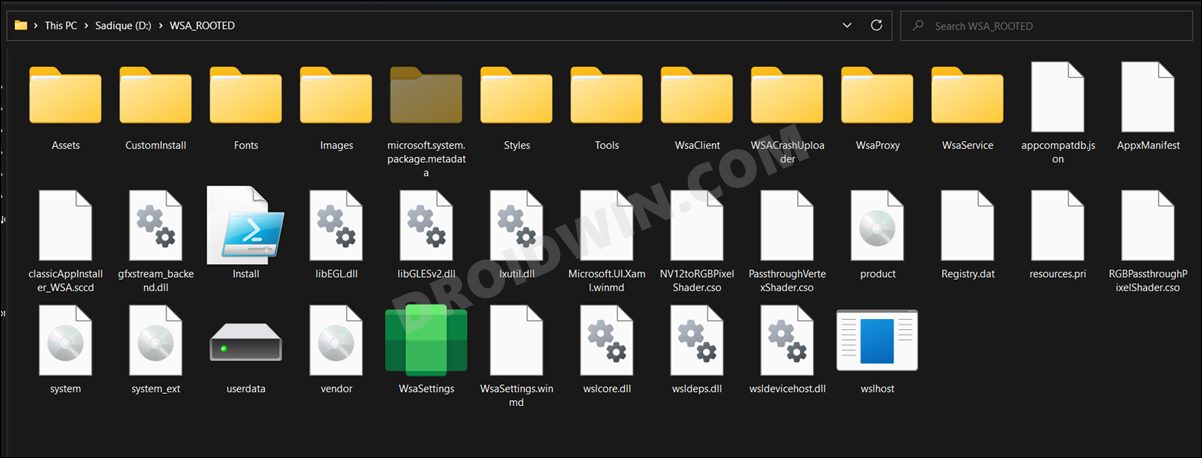
Moreover, once you have downloaded the WSA, extract it to any convenient location on your PC. (this location will be used later on). Just make sure that the name of the folder where you are extracting it shouldn’t have any space. For example, WSA Rooted is not acceptable whereas WSA_Rooted is fine (from the PowerShell point of view).
STEP 4: Download Magisk for Windows 11
After that, download the Magisk APK that will be used to root your PC. Do note that the Magisk required to root your Windows 11 PC is different from the one that is used to root Android smartphones. So download the one that we have provided below (which is designed specifically for Windows 11). Once downloaded, extract it, copy the magisk.apk from there and transfer it to the platform-tools folder on your PC.
Magisk APK for Windows Subsystem for Android: Download Link
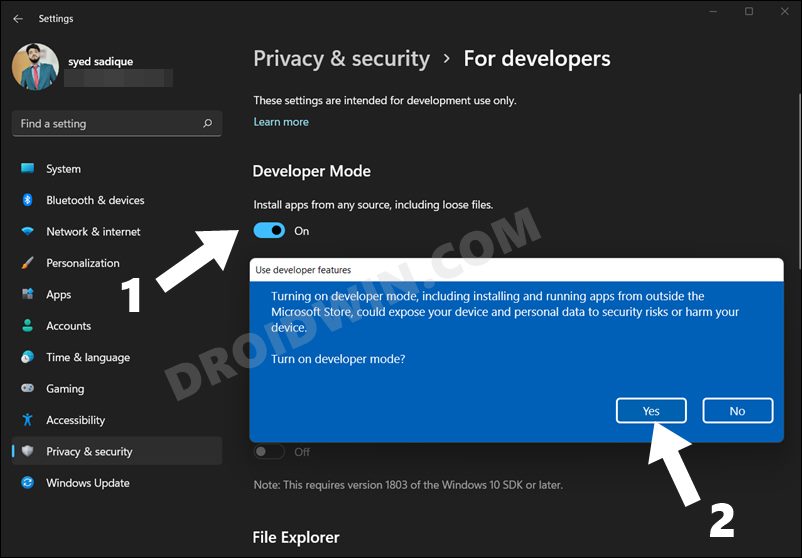
STEP 5: Enable Developer Mode in Windows 11
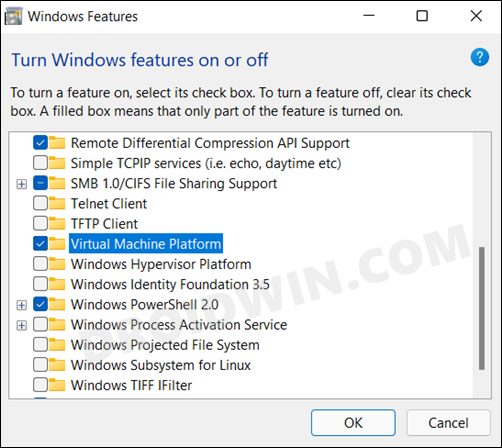
STEP 6: Enable Virtual Machine Platform in Windows 11
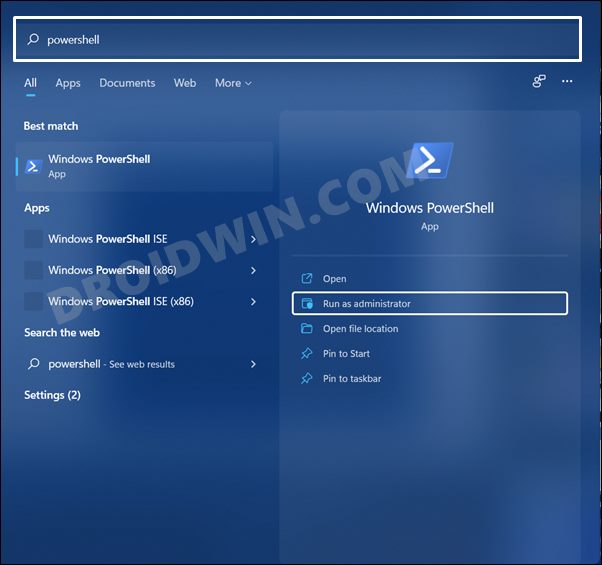
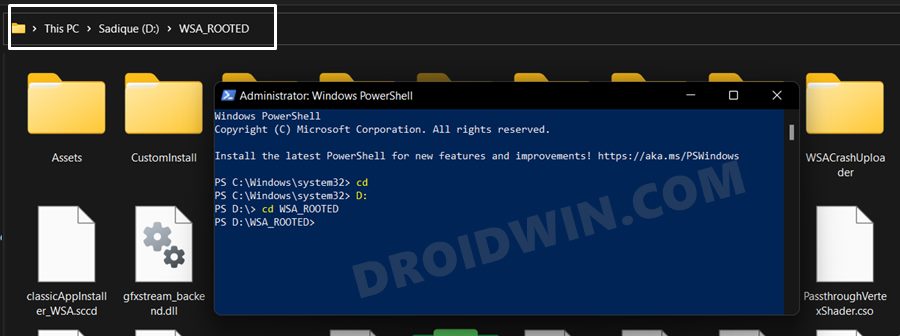
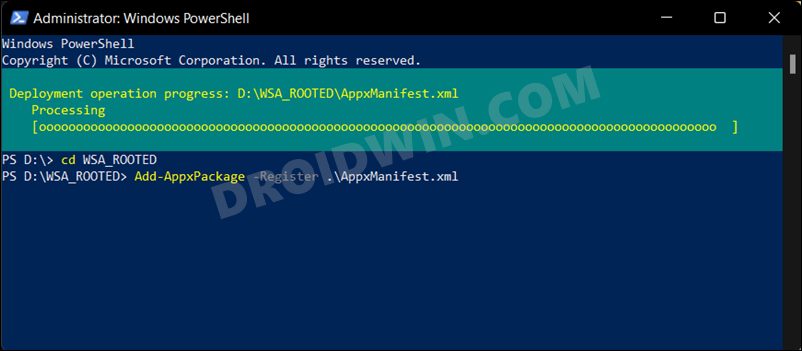
STEP 7: Install Rooted Windows SubSystem for Android
Let’s now start off with the steps to install and register the rooted Windows Subsystem for Android onto your Windows 11 PC. Follow along.
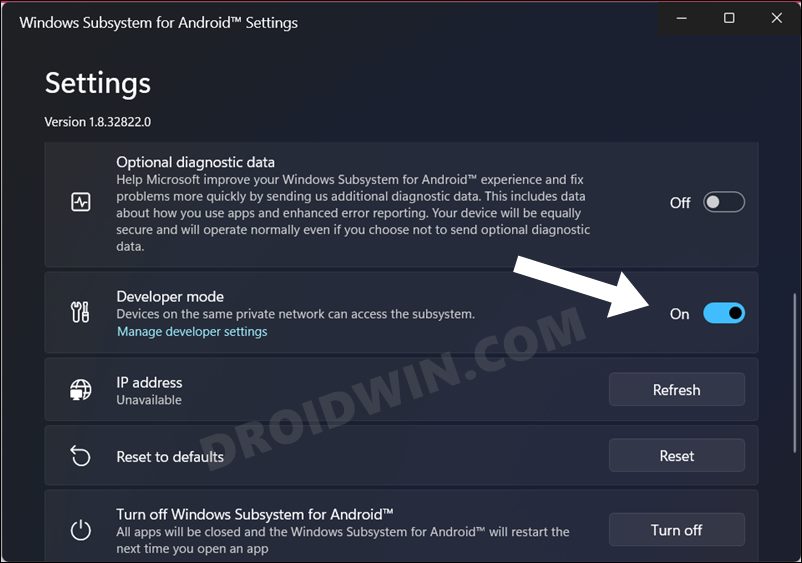
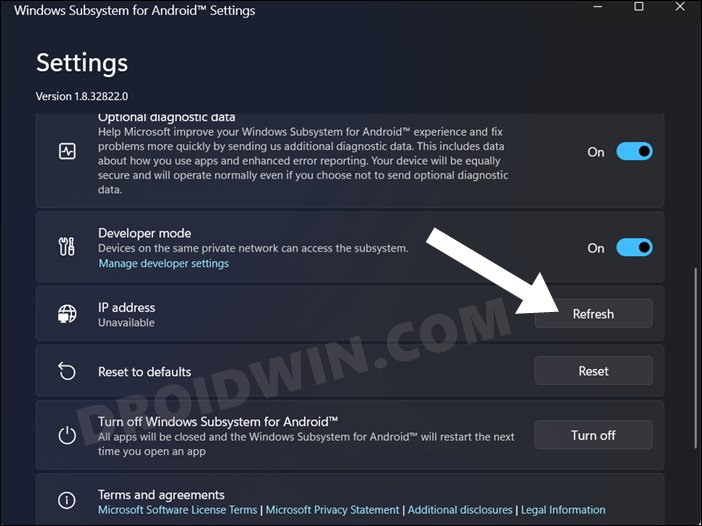
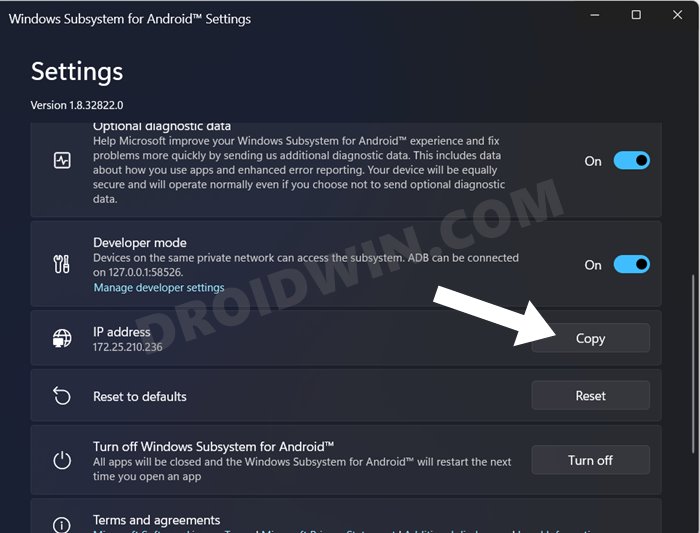
STEP 8: Enable Developer Mode in Windows SubSystem for Android
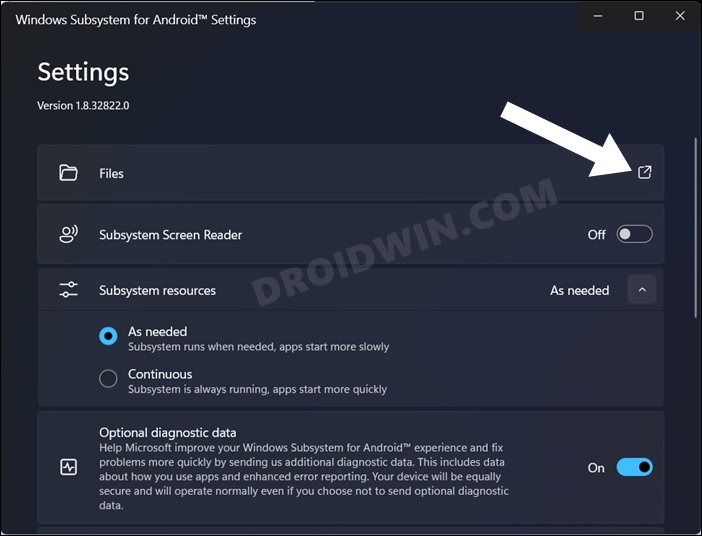
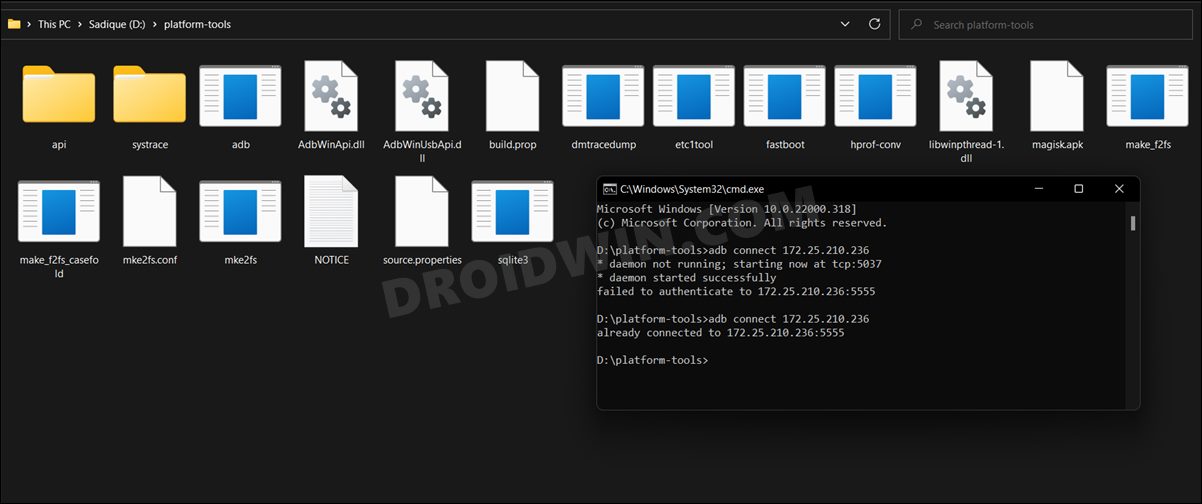
STEP 9: Establish Wireless ADB Connection
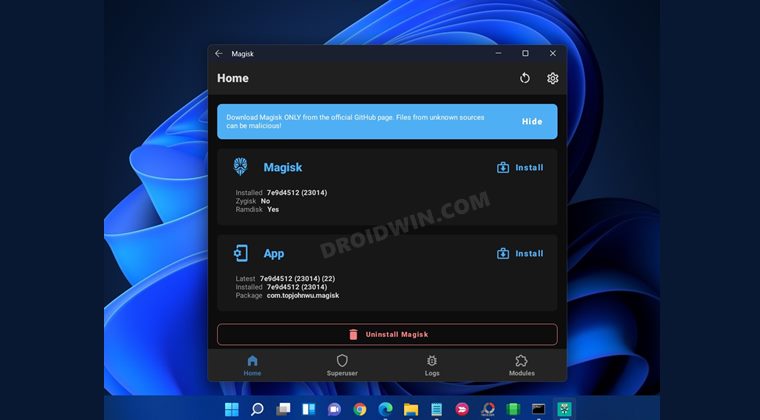
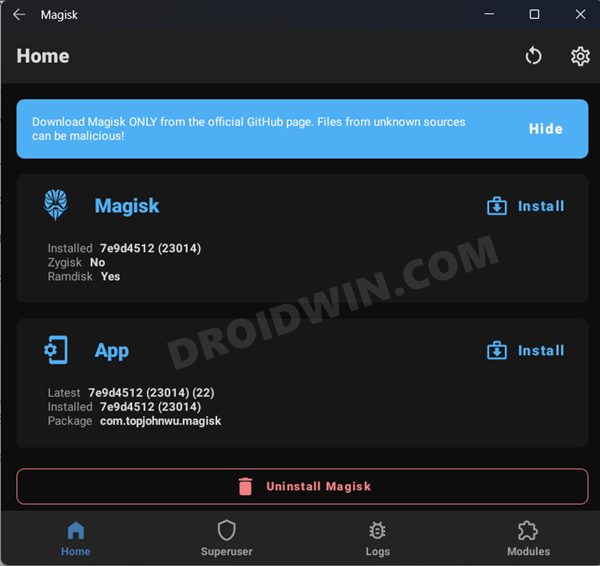
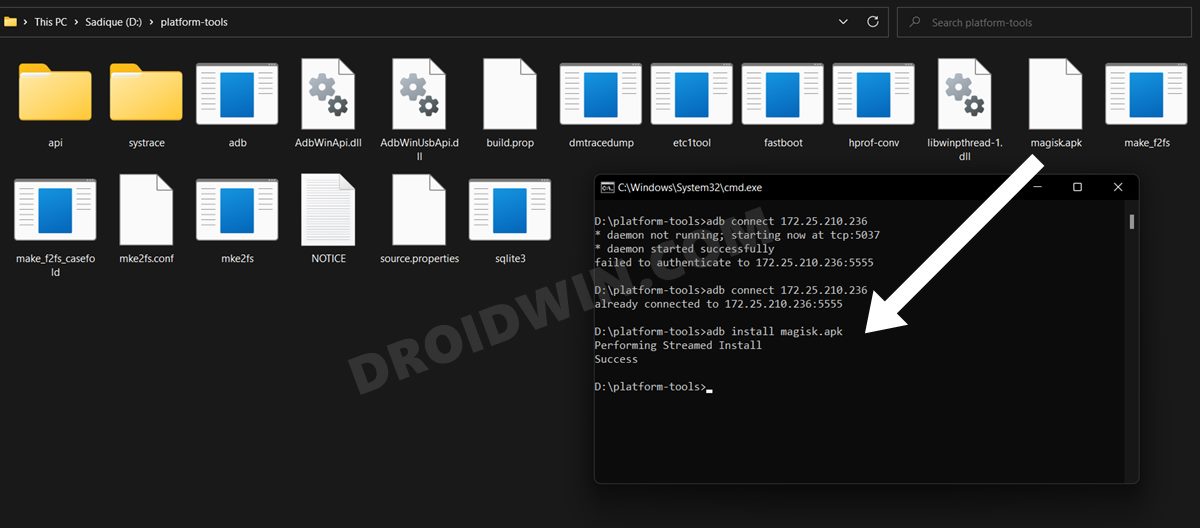
STEP 10: Install Magisk in Windows 11
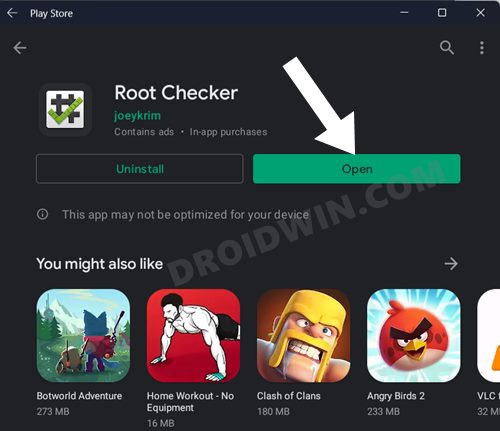
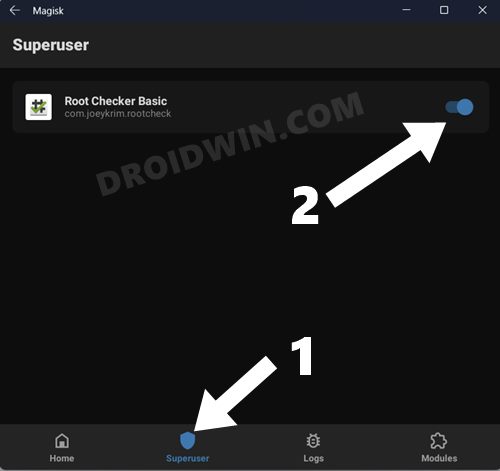
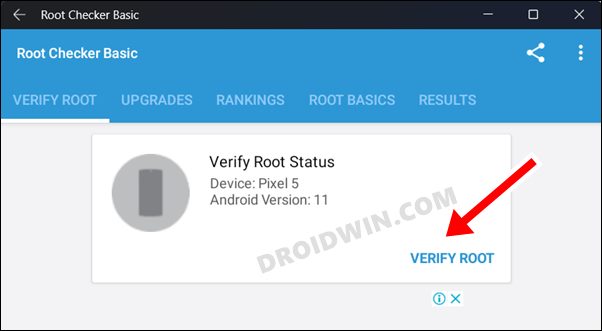
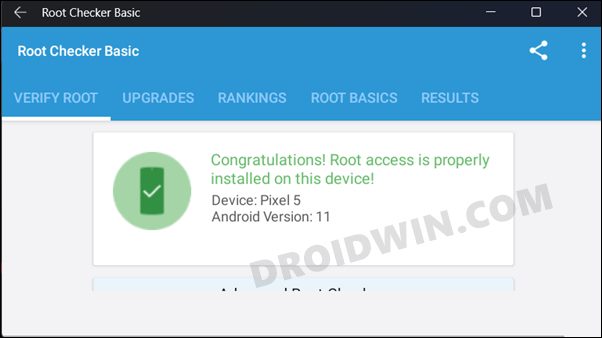
How to Verify if My Windows 11 PC is Rooted?
These were the steps to root the Windows Subsystem for Android via Magisk. If you have any queries concerning the aforementioned steps, do let us know in the comments. We will get back to you with a solution at the earliest.
About Chief Editor