Once rooted, you could then gain access to the system partition and carry out a plethora of tweaks. For example, you could install Substratum Themes, Xposed Frameworks, Magisk Modules. However, as far as rooting is concerned, it could be achieved via two different methods: via TWRP or without TWRP via the patched boot.img file. So before going on any further, let’s focus on the latter once it is going to be the crux of this article. [Update 1: Added a Fix for Android 11 Boot.img patch issues].
How to Root Pixel 4, 4A, 4A XL running Android 11 without TWRPUpdate Magisk ZIP and Magisk Manager (without TWRP)How to Install OxygenOS OTA on Rooted OnePlus devicesHow to Root All Vivo Devices via Magisk without TWRP
Why Root using Patched Boot.Img file
There exist two different methods to root any Android device. In the first one, you just have to flash the Magisk Installer ZIP file via TWRP and your device stands rooted. However, the next method calls for extracting the stock boot.img file from the stock firmware. Nowadays these stock ROMs themselves come in payload.bin or OZIP format. As a result, you will first have to decrypt this firmware packaged and then get hold of the stock boot.img. After this, you will have to patch this boot.img via Magisk. This will in turn give you a patched boot.img file. Finally, you will have to flash this patched boot.img file Fastboot to gain root access. So all this begs for an important question- why choose this longer root method? Well, the thing there do exists many Android devices that don’t have a working TWRP build. And for them, this is the sole method to root their device. So with that said, let’s now get on with the guide to Patch Stock Boot Image via Magisk and Flash it using Fastboot.
How to Fix TWRP Error 70 [With Screenshots]How to Fix TWRP Error 20 GApps after flashing LineageOSFix TWRP Error 7 (While Flashing Custom ROM via TWRP)How to Boot into Recovery (TWRP/Stock) from Fastboot Mode
Patch Stock Boot Image via Magisk | Flash it via Fastboot
Before we list out the instructions, there are a few requirements and downloads that you need to check-mark. Make sure to go through them and then only proceed with the instructions. Droidwin and its members wouldn’t be held responsible in case of a thermonuclear war, your alarm doesn’t wake you up, or if anything happens to your device and data by performing the below steps.
Prerequisites
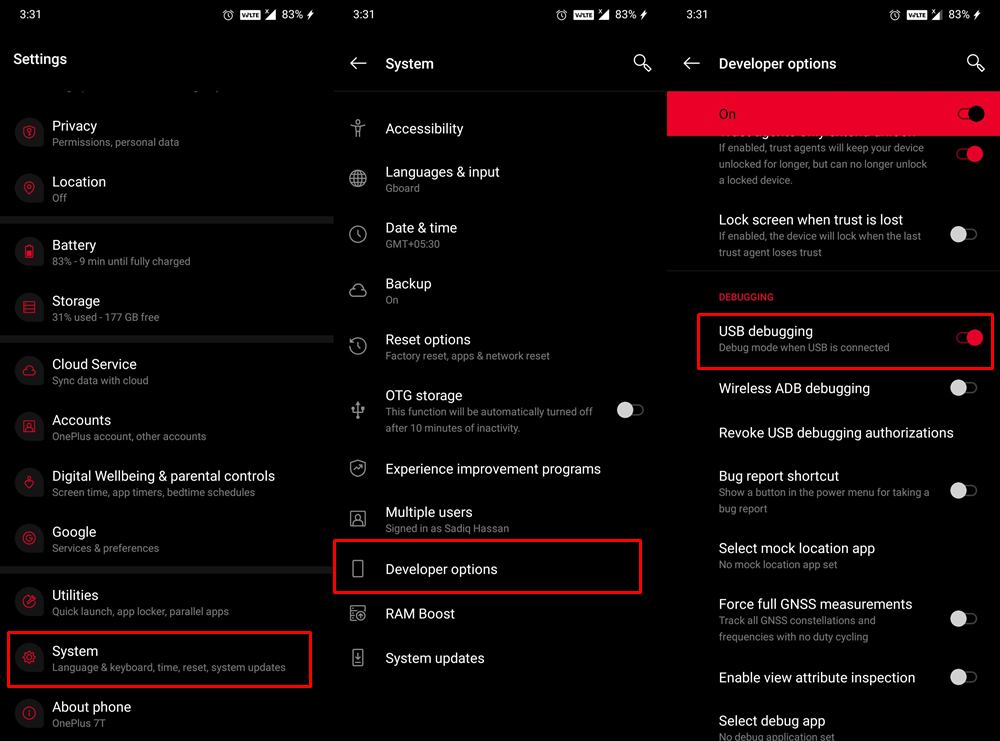
Make a complete backup of all your data. While creating a patched boot.img file or flashing it via Fastboot doesn’t wipe the data partition, but it is still advisable to be on the safer side and take a backup beforehand.Next up, it goes without saying that you need to unlock the bootloader on your device. You may also refer to our guide on how to Unlock the Bootloader of Android Devices.Also, download and install Android SDK Platform Tools on your PC. This will provide you with the necessary ADB and Fastboot binaries.Finally, enable USB Debugging on your device. This will be needed so that your device gets recognized by the PC in ADB Mode. This ADB Mode will be used later on to boot your device to Fastboot Mode. Hence go to ‘Settings’ > ‘About Phone’ > Tap on the ‘Build Number’ 7 times > Go back to ‘Settings’ > ‘Developer Options’ > Toggle on the ‘USB Debugging’. [Don’t Miss: How to Enable USB Debugging on a Broken Android Device’s Screen? ]
Downloads
Download the latest Magisk Manager APK File. Since version 22, it is known as the Magisk App and comes bundled in with both the Magisk ZIP and Magisk APK.Then download the stock ROM for your device. You could get it from the respective OEMs website support or download section. We will explain in the next section how to get hold of the stock boot.img file from the stock ROM.NOTE: You could also get the stock boot.img file directly from your device, without even downloading the entire firmware. The only major prerequisite is that your device needs to have the TWRP Recovery installed (or ready for one-time boot). If you have it, then do check out our guide: Extract Boot.img Directly from Device Without Downloading Firmware.
Check for Ramdisk
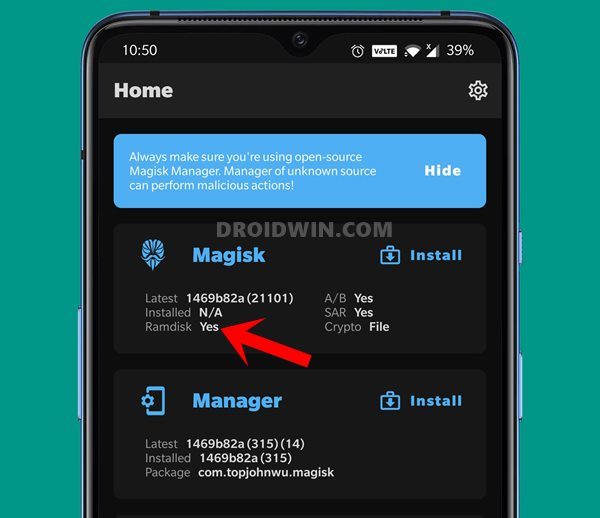
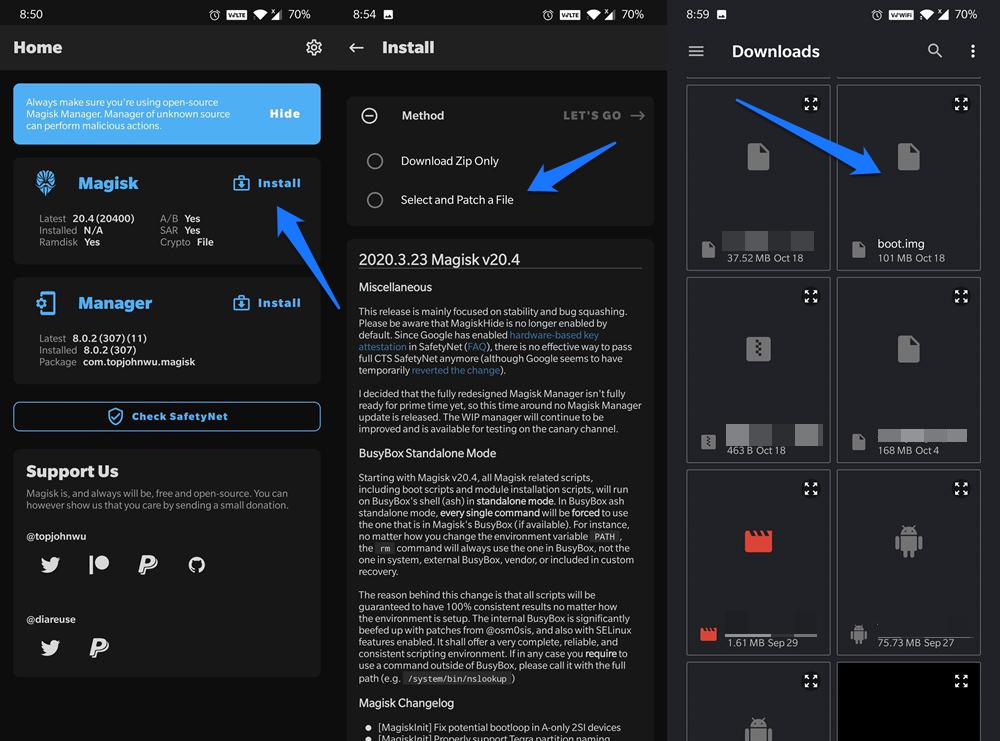
You would only be able to proceed with the below steps if your device has Ramdisk. To check for the same, launch the Magisk App, and refer to the section under Magisk. if it says, YES (see below image), you are good to proceed ahead with the below steps. However, if it says NO under Ramdisk, then the below steps wouldn’t work. In that case, you will have to refer to our other guide: Install Magisk in Recovery and Root Android [No Ramdisk].
That’s it. You may now proceed with the steps to Patch the Stock Boot Image via Magisk and Flash it using Fastboot.
STEP 1: Get Stock Boot.img File from Stock ROM
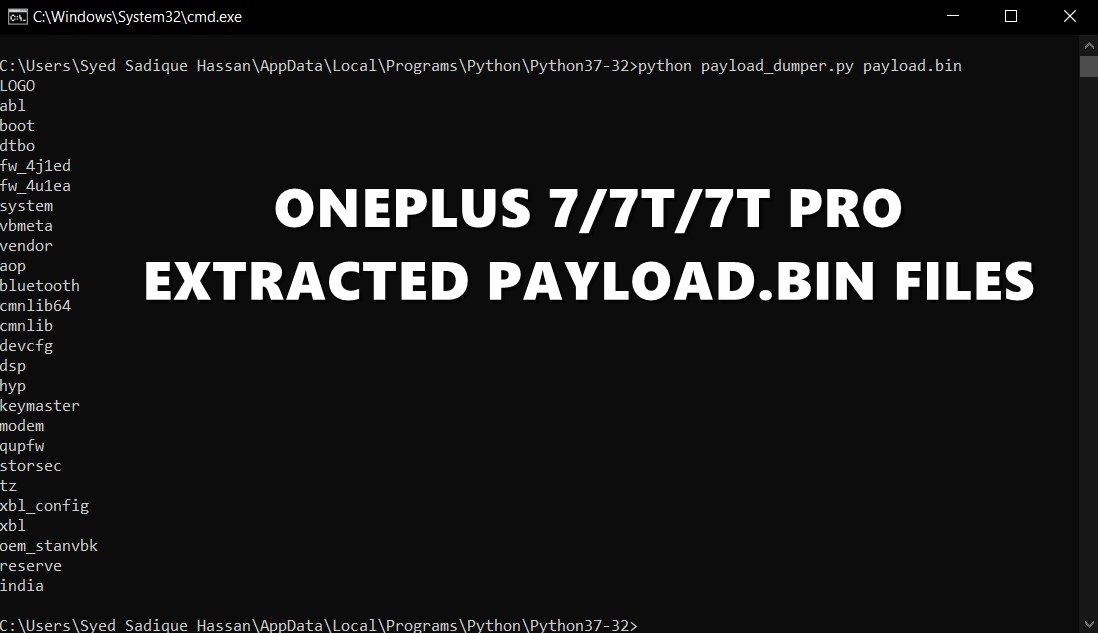
To begin with, you will have to extract the stock boot.img file. And as opposed to earlier times, the process is a little bit more complicated nowadays. You cannot simply extract the firmware and get the required partition files (such as vbmeta.img, system.img, boot.img, etc). The reason is that many OEMs packs the ROM’s IMG files inside an encrypted package. For example, OnePlus has these files inside payload.bin, Realme, and Oppo have their files inside the OZIP format, and so on. In that case, you may refer to our below guides to get the stock boot.img file:
Extract payload.bin and get the stock boot image fileHow to Extract OZIP Realme/Oppo Stock ROM (Firmware)Extract Stock Boot.img from OnePlus OxygenOS Stock ROMHow to Extract Sony Boot.sin and get the Stock Boot.img FileHow to Extract Boot.img from LG KDZ or DZ Firmware.
Now that you have got hold of the stock boot image file, it’s time to patch it via Magisk and flash it via Fastboot Commands. We have listed the steps for both the older as well as the newer build of Magisk Manager. As far as the difference between them goes, it’s just some UI tweaks here and there, the underlying functionality remains the same. UPDATE 1: Quite a few Android 11 users are facing issues while patching the stock boot.img file via Magisk manager. Well, I have found the fix to this issue, please refer to our detailed guide on the same: Fix Magisk patched boot.img issue while Rooting Android 11. If you wish to save a click, then here’s the explanation in short: You have to install the Magisk Canary build instead of the stable and then change the update channel to Canary from within the app itself. Once you have done the said change, you may then proceed with the below steps to patch the stock boot image file using Magisk and flash it via Fastboot commands.
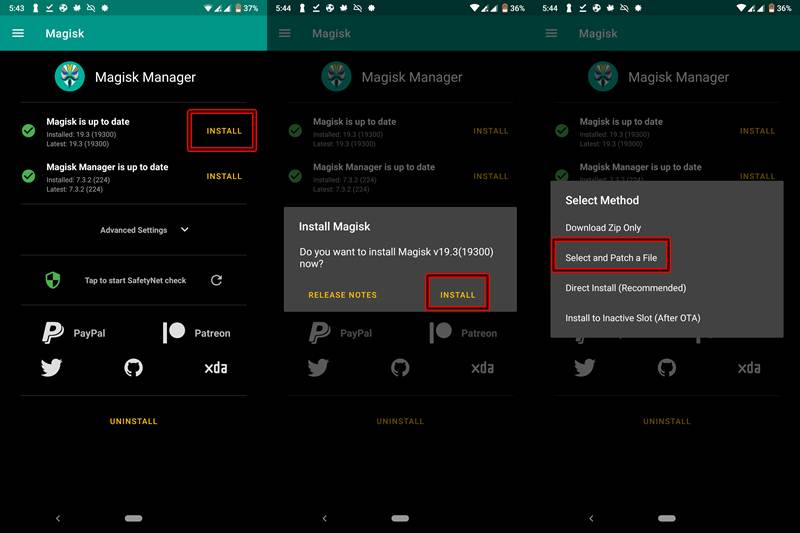
STEP 2A- Patch the Stock Boot Image File using Older Magisk
How to Update Magisk ZIP and Magisk Manager (without TWRP)Disable DM-Verity or Android Verified Boot without TWRPFix Magisk Module Bootloop without TWRP RecoveryHow to Root Android Devices Without TWRP Recovery
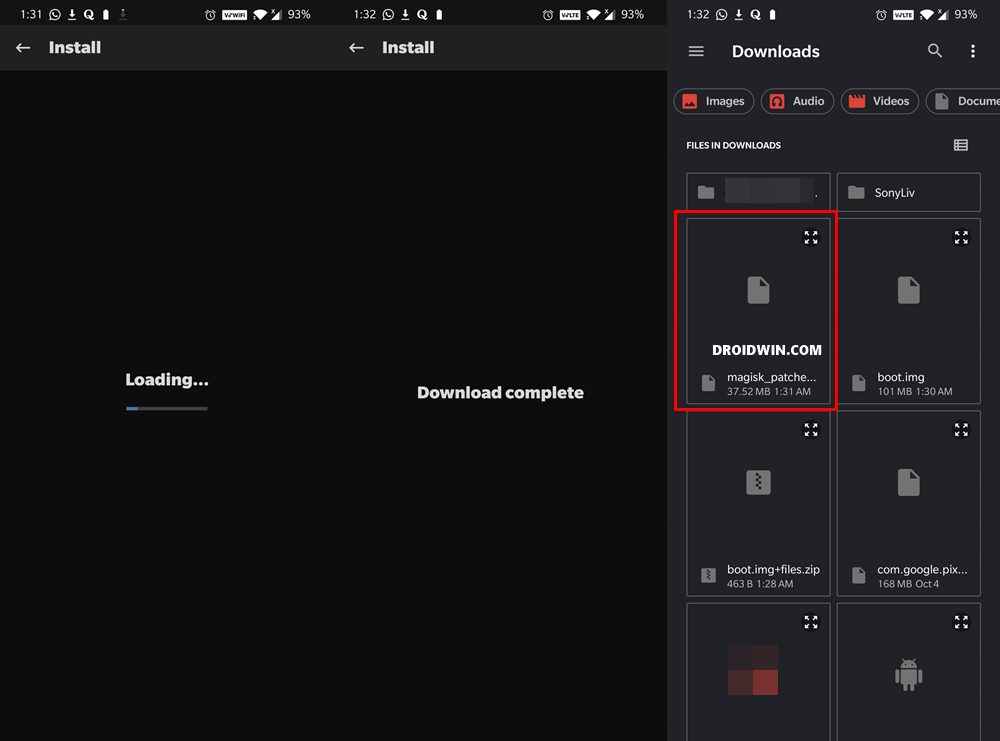
STEP 2B: Patch Stock Boot Image File using Newer Magisk
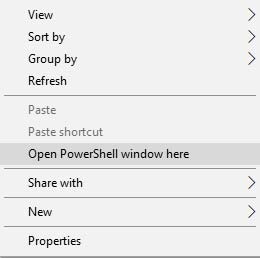
STEP 3- Install the Patched Boot Image using Fastboot
Now that you have created the patched boot image file via Magisk, it’s time to flash it via Fastboot Commands. Follow along That’s it. You have successfully rooted your device. When the device reboots, you could open the Magisk Manager app and confirm that the installation is successful. With the device now rooted, try tweaking your device by editing the build.prop file, optimize the device’s battery by the Greenify app or manage your kernel via the Kernel Aduitor. There are countless other things you could do. Explore the endless possibilities. So this was the detailed guide on how to Patch Stock Boot Image and Flash it on Android Devices. If you face any error, do mention it in the comments section below. We will get back to you with a solution at the earliest.
Detailed Steps to Fix adb is not recognized ErrorHow to Fix Unauthorized Device with ADB Commands [3 methods]Fix Android stuck in Recovery Mode: No Command screenHow to Install Split APKs (APKM) on any Android Device
About Chief Editor