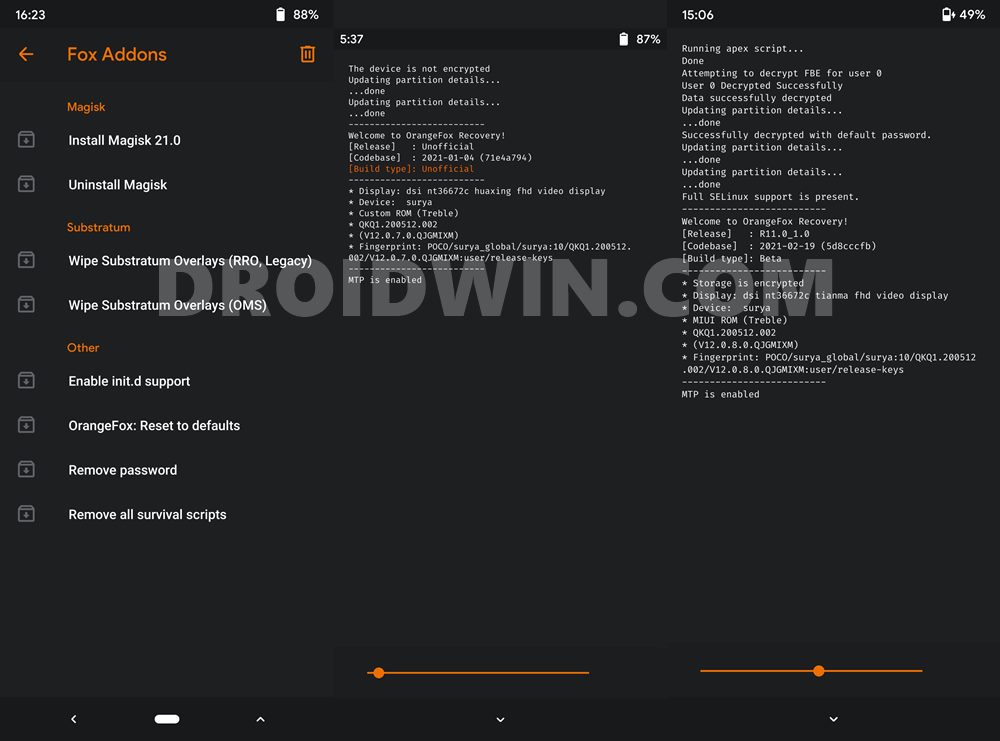
While it’s based on TWRP itself, but this is where its similarity ends. It has incorporated way more features than the former and has added a plethora of customizations and tweaks. These are apart from its usual functionalities of flashing custom ROMs, wiping device partitions, installing ZIP and IMG files, among others. Likewise, there are a plethora of add-ons as well. These include directly installing Magisk ZIP, dealing with Substratum Themes, enable init.d support, and some other geeky stuff. All in all, there’s a lot to try out and if you ready to jump on this bandwagon, then this guide is here to help you out. Given here are the detailed instructions to install the OrangeFox Recovery onto your Poco X3 device. Follow along.
How to Install OrangeFox Recovery on Poco X3
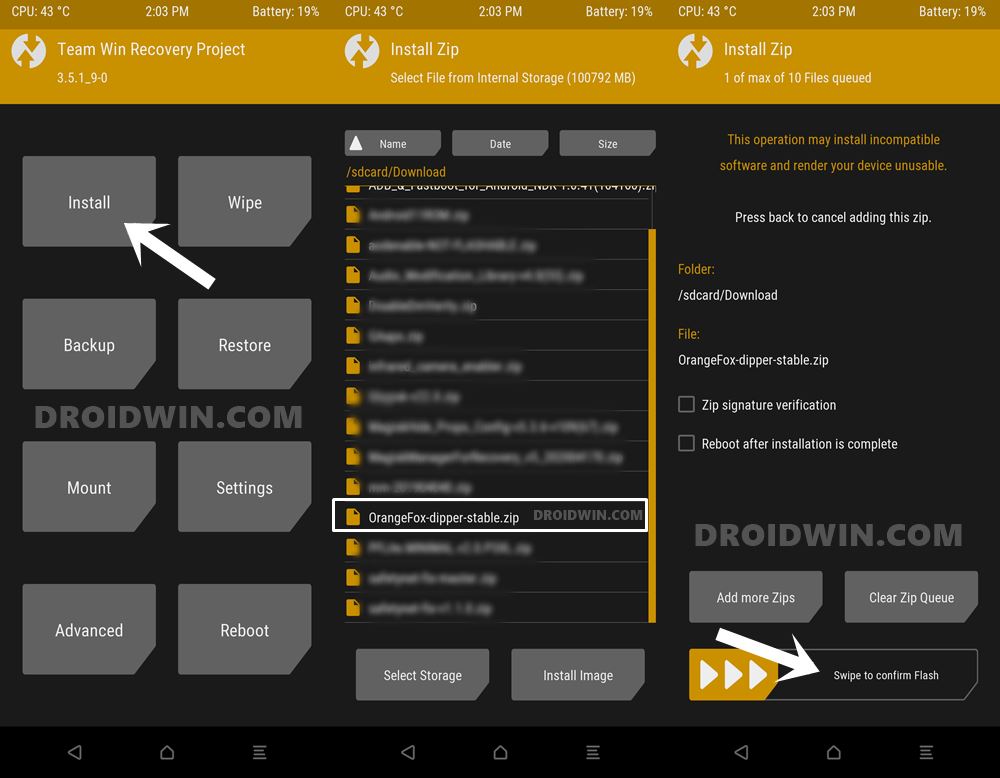
First off, download the latest build of OrangeFox recovery for Poco X3: OrangeFox_R11.0_UNOFFICIAL_Beta_surya. Credit: XDA Senior Member: ManoloRey. Once downloaded, you could easily install the OrangeFox Recovery onto your Poco X3 device via our comprehensive guide: How to Install Orangefox Recovery on Xiaomi Devices via TWRP and Fastboot Methods. In short, if you have TWRP installed [How to Install TWRP Recovery on Xiaomi Poco X3], then flash OrangeFox as a normal ZIP file.
However, if you don’t have TWRP installed, then you will first have to flash OrangeFox to the recovery partition via the fastboot flash recovery orangefox.img command. After that, boot your device to OrangeFox via the fastboot boot orangefox.img command. All the prerequisites and detailed instructions regarding this are given in the linked guide above, do check it out. That’s it. These were the steps to install the OrangeFox Recovery onto your Xiaomi Poco X3 device. Have any queries? Feel free to let us know in the comments section below. Read next: Root Poco X3 NFC without TWRP using the stock boot.img file.
About Chief Editor


